
In June 2015 I completed my Gauge 1 garden line. Now, my interest is in engineering rather than modelling: I very much appreciate the super-detailed, beautifully turned out models that many of my friends run, but if I am honest I don't think I could face spending thousands on a model that I was going to set fire to and run round in the open. Similarly, constructing beautiful outdoor models of stations and infrastructure is not my thing. I want to do some metal bashing in the workshop, and then take the thing out and see it go.
What I wanted for myself was a simple (and relatively cheap) track on which I could test my engines, and on which I could perhaps run an electric engine round gently whilst tending to the plants. Actually the plants are the problem. I'm a keen gardener, and my particular thing is herbaceous plants and annuals that put on a terrific display in the summer, and then pretty much disappear under the ground in winter. That represents a challenge, because I didn't want the railway to dominate the plants in summer, or to stand out too much in winter when the garden is dormant. Typical G1 railways are double tracked affairs running on plywood bases mounted on 75mm square fence posts. In a large garden that can look terrific, but in my small plot that would be pretty ugly.

Why fence posts? Well G1 engines move fast: the scale is 1:32 and so a train doing a scale 90mph is running at 3mph which is a 'determined' walking pace. If they start to run away, then they can go a lot faster than that (and indeed take off if you are really unlucky). So, you need to be able to adjust the controls whilst they are running, and if they are at ground level that is very hard on your back: G1 mainline tracks are usually elevated to about 1m above the ground. (The 16mm narrow gauge people do run mostly at ground level and generate lovely scenic effects, but their engines move slowly, and their preferred gas-fired technology is perhaps a little more well behaved than traditional meths and coal.)
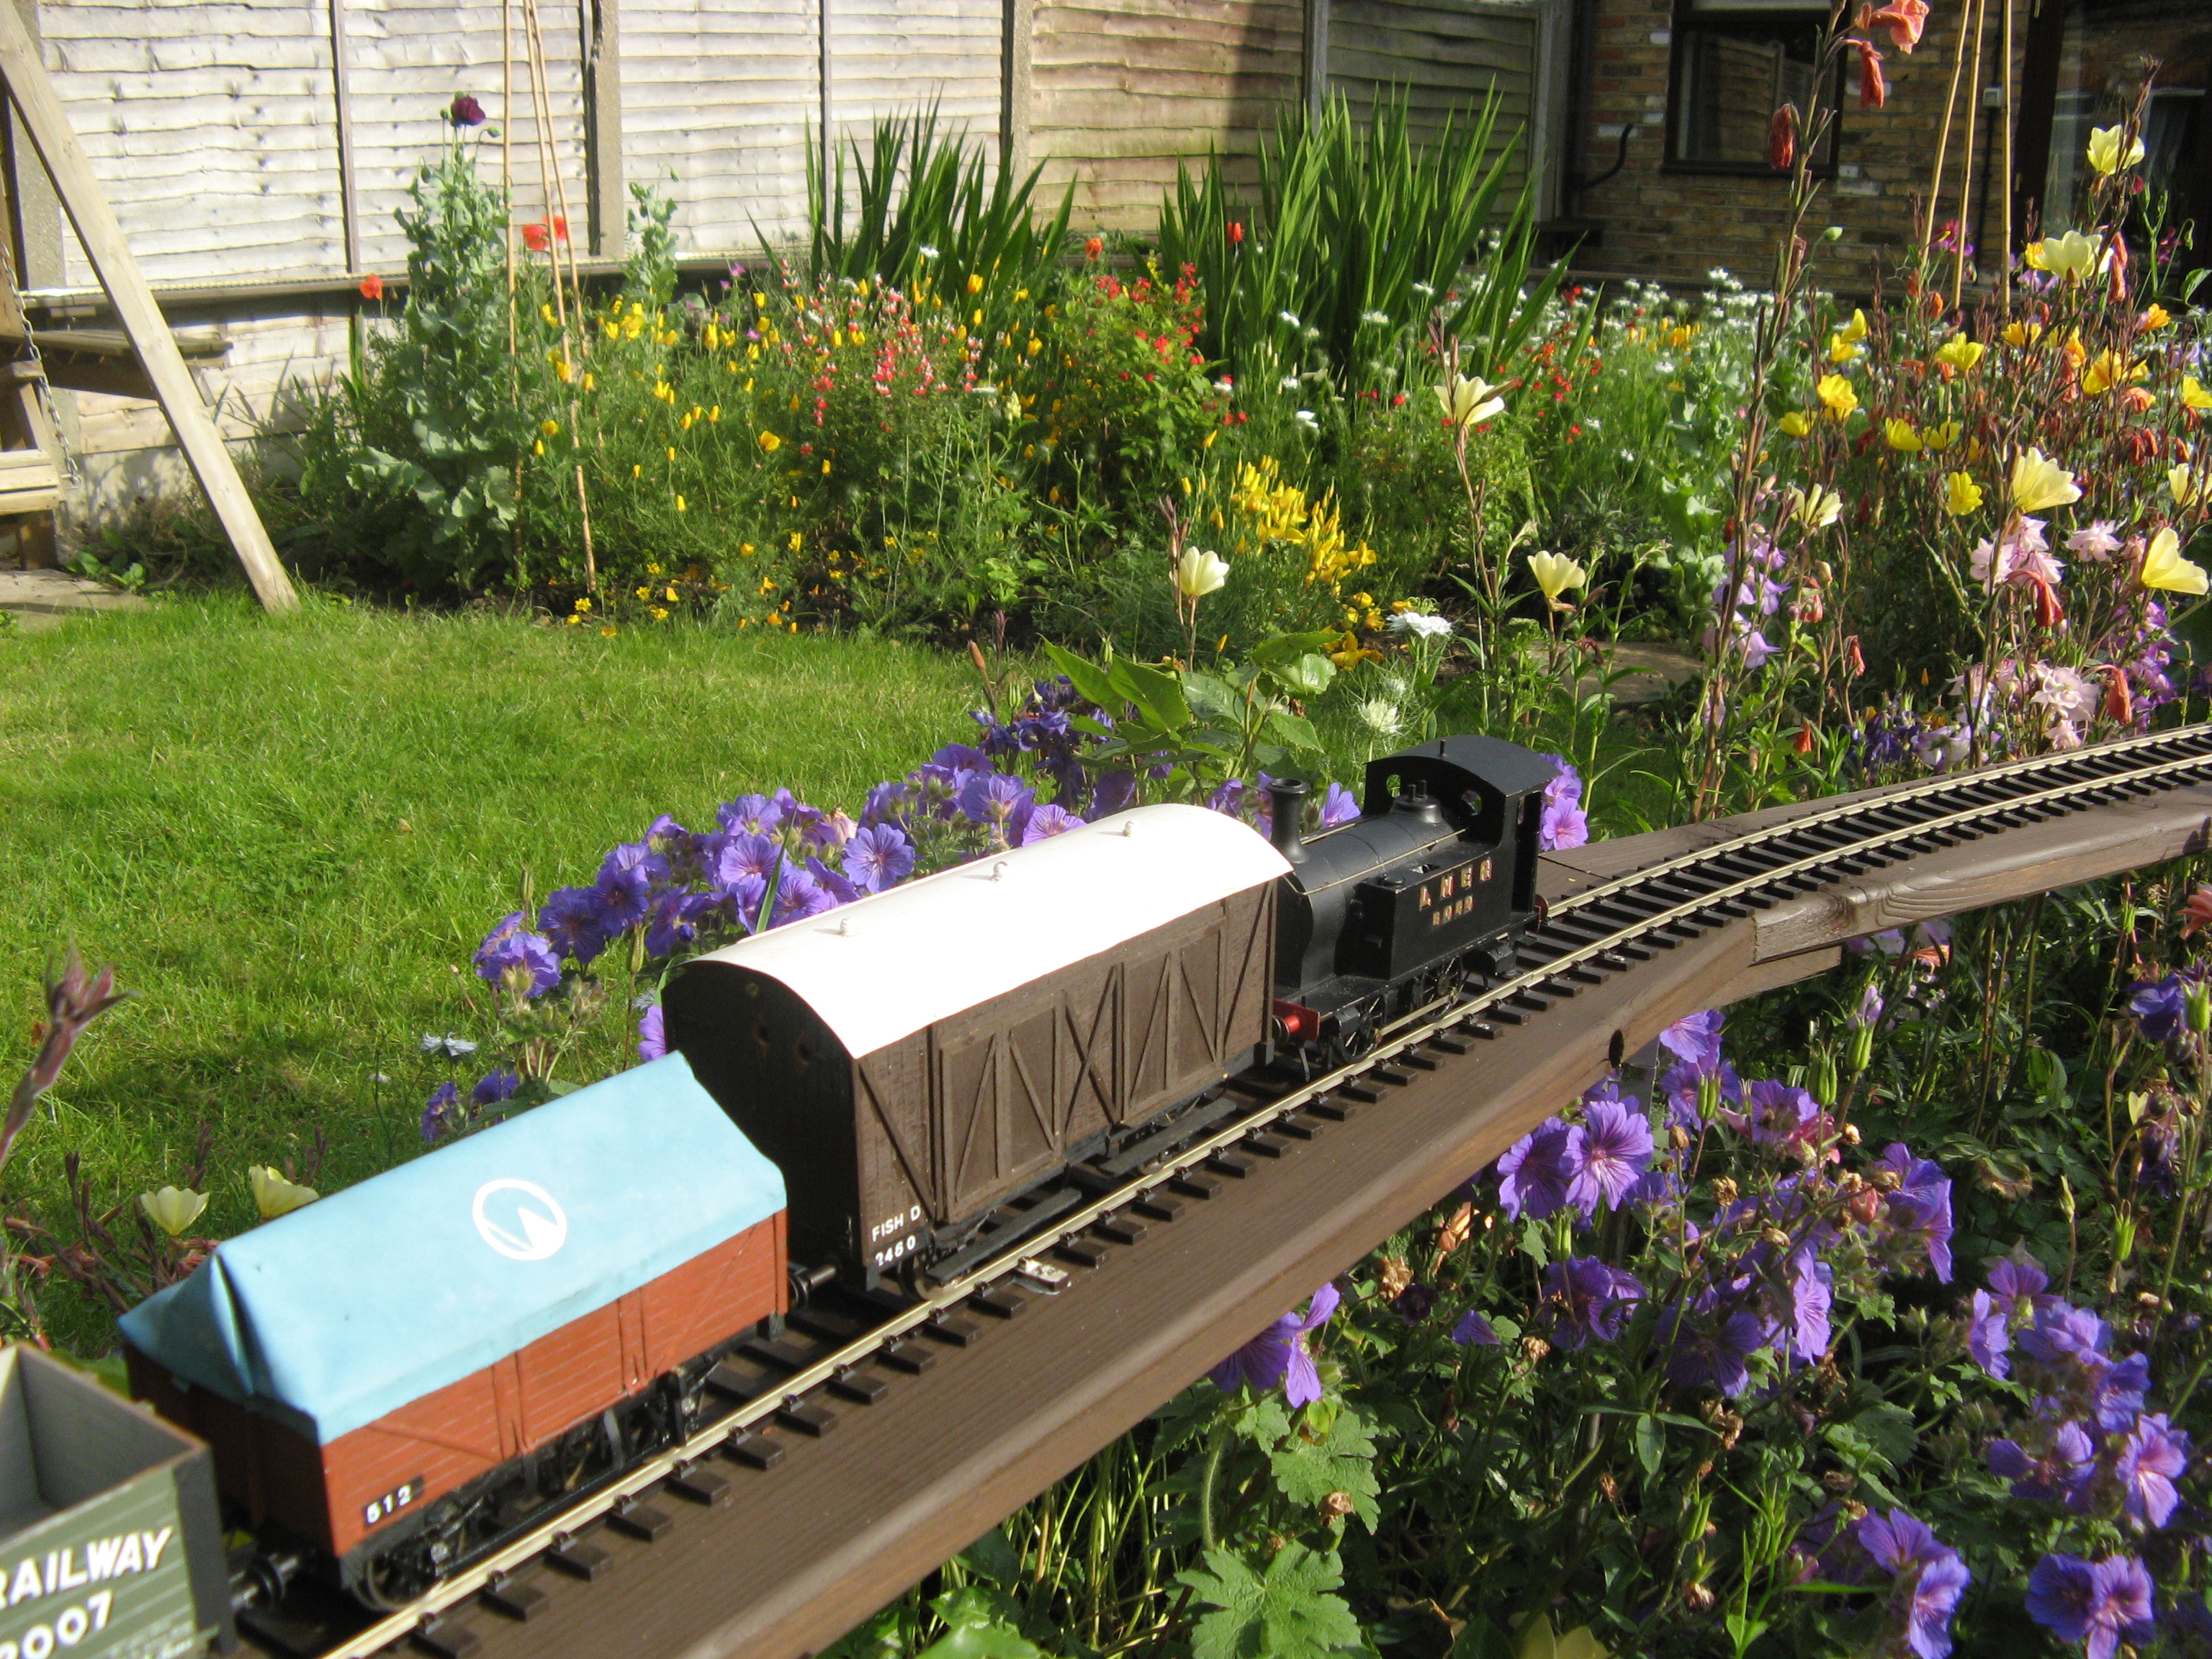
What I really wanted was a 'floating' track that would waft round just above the flowers on slender supports. I don't think my design is the last word in this respect, but it certainly meets that main criterion. It was also simple and cheap to construct (at least by G1 standards). I thought stainless steel and aluminium, with a deckboard top might do the trick, but stainless steel tube is not cheap. However, a few years ago IKEA made a shoe rack with stainless runners, and two of those provided enough tubes to support my track, with one side running on stainless steel shelf brackets screwed to the fence posts.
 I discussed the design with my
good friend Alan England, and in particular ways that I might arrange
some height adjustment. The problem is: what looks like a nice calm
bit of garden is really moving around all the time. As the ground
dries out in summer and then soaks up moisture again in winter, levels
shift. That's why houses have good foundations. Some soils are worse
than others. For instance, Salisbury Cathedral famously has
foundations only just over 1m deep, but they stand on a 9m thick bed
of weathered chalk atop another 11m of solid chalk. That's going to be
pretty stable. At the other extreme, heavy clay soils as I had in my
previous house can heave themselves about so much that levels shift
several inches in a season. Live steam G1 engines don't like
downhill slopes because they have no driver to close off the
regulator, so the engine can run away. We want a level line, and
regular track adjustment may be needed.
I discussed the design with my
good friend Alan England, and in particular ways that I might arrange
some height adjustment. The problem is: what looks like a nice calm
bit of garden is really moving around all the time. As the ground
dries out in summer and then soaks up moisture again in winter, levels
shift. That's why houses have good foundations. Some soils are worse
than others. For instance, Salisbury Cathedral famously has
foundations only just over 1m deep, but they stand on a 9m thick bed
of weathered chalk atop another 11m of solid chalk. That's going to be
pretty stable. At the other extreme, heavy clay soils as I had in my
previous house can heave themselves about so much that levels shift
several inches in a season. Live steam G1 engines don't like
downhill slopes because they have no driver to close off the
regulator, so the engine can run away. We want a level line, and
regular track adjustment may be needed.
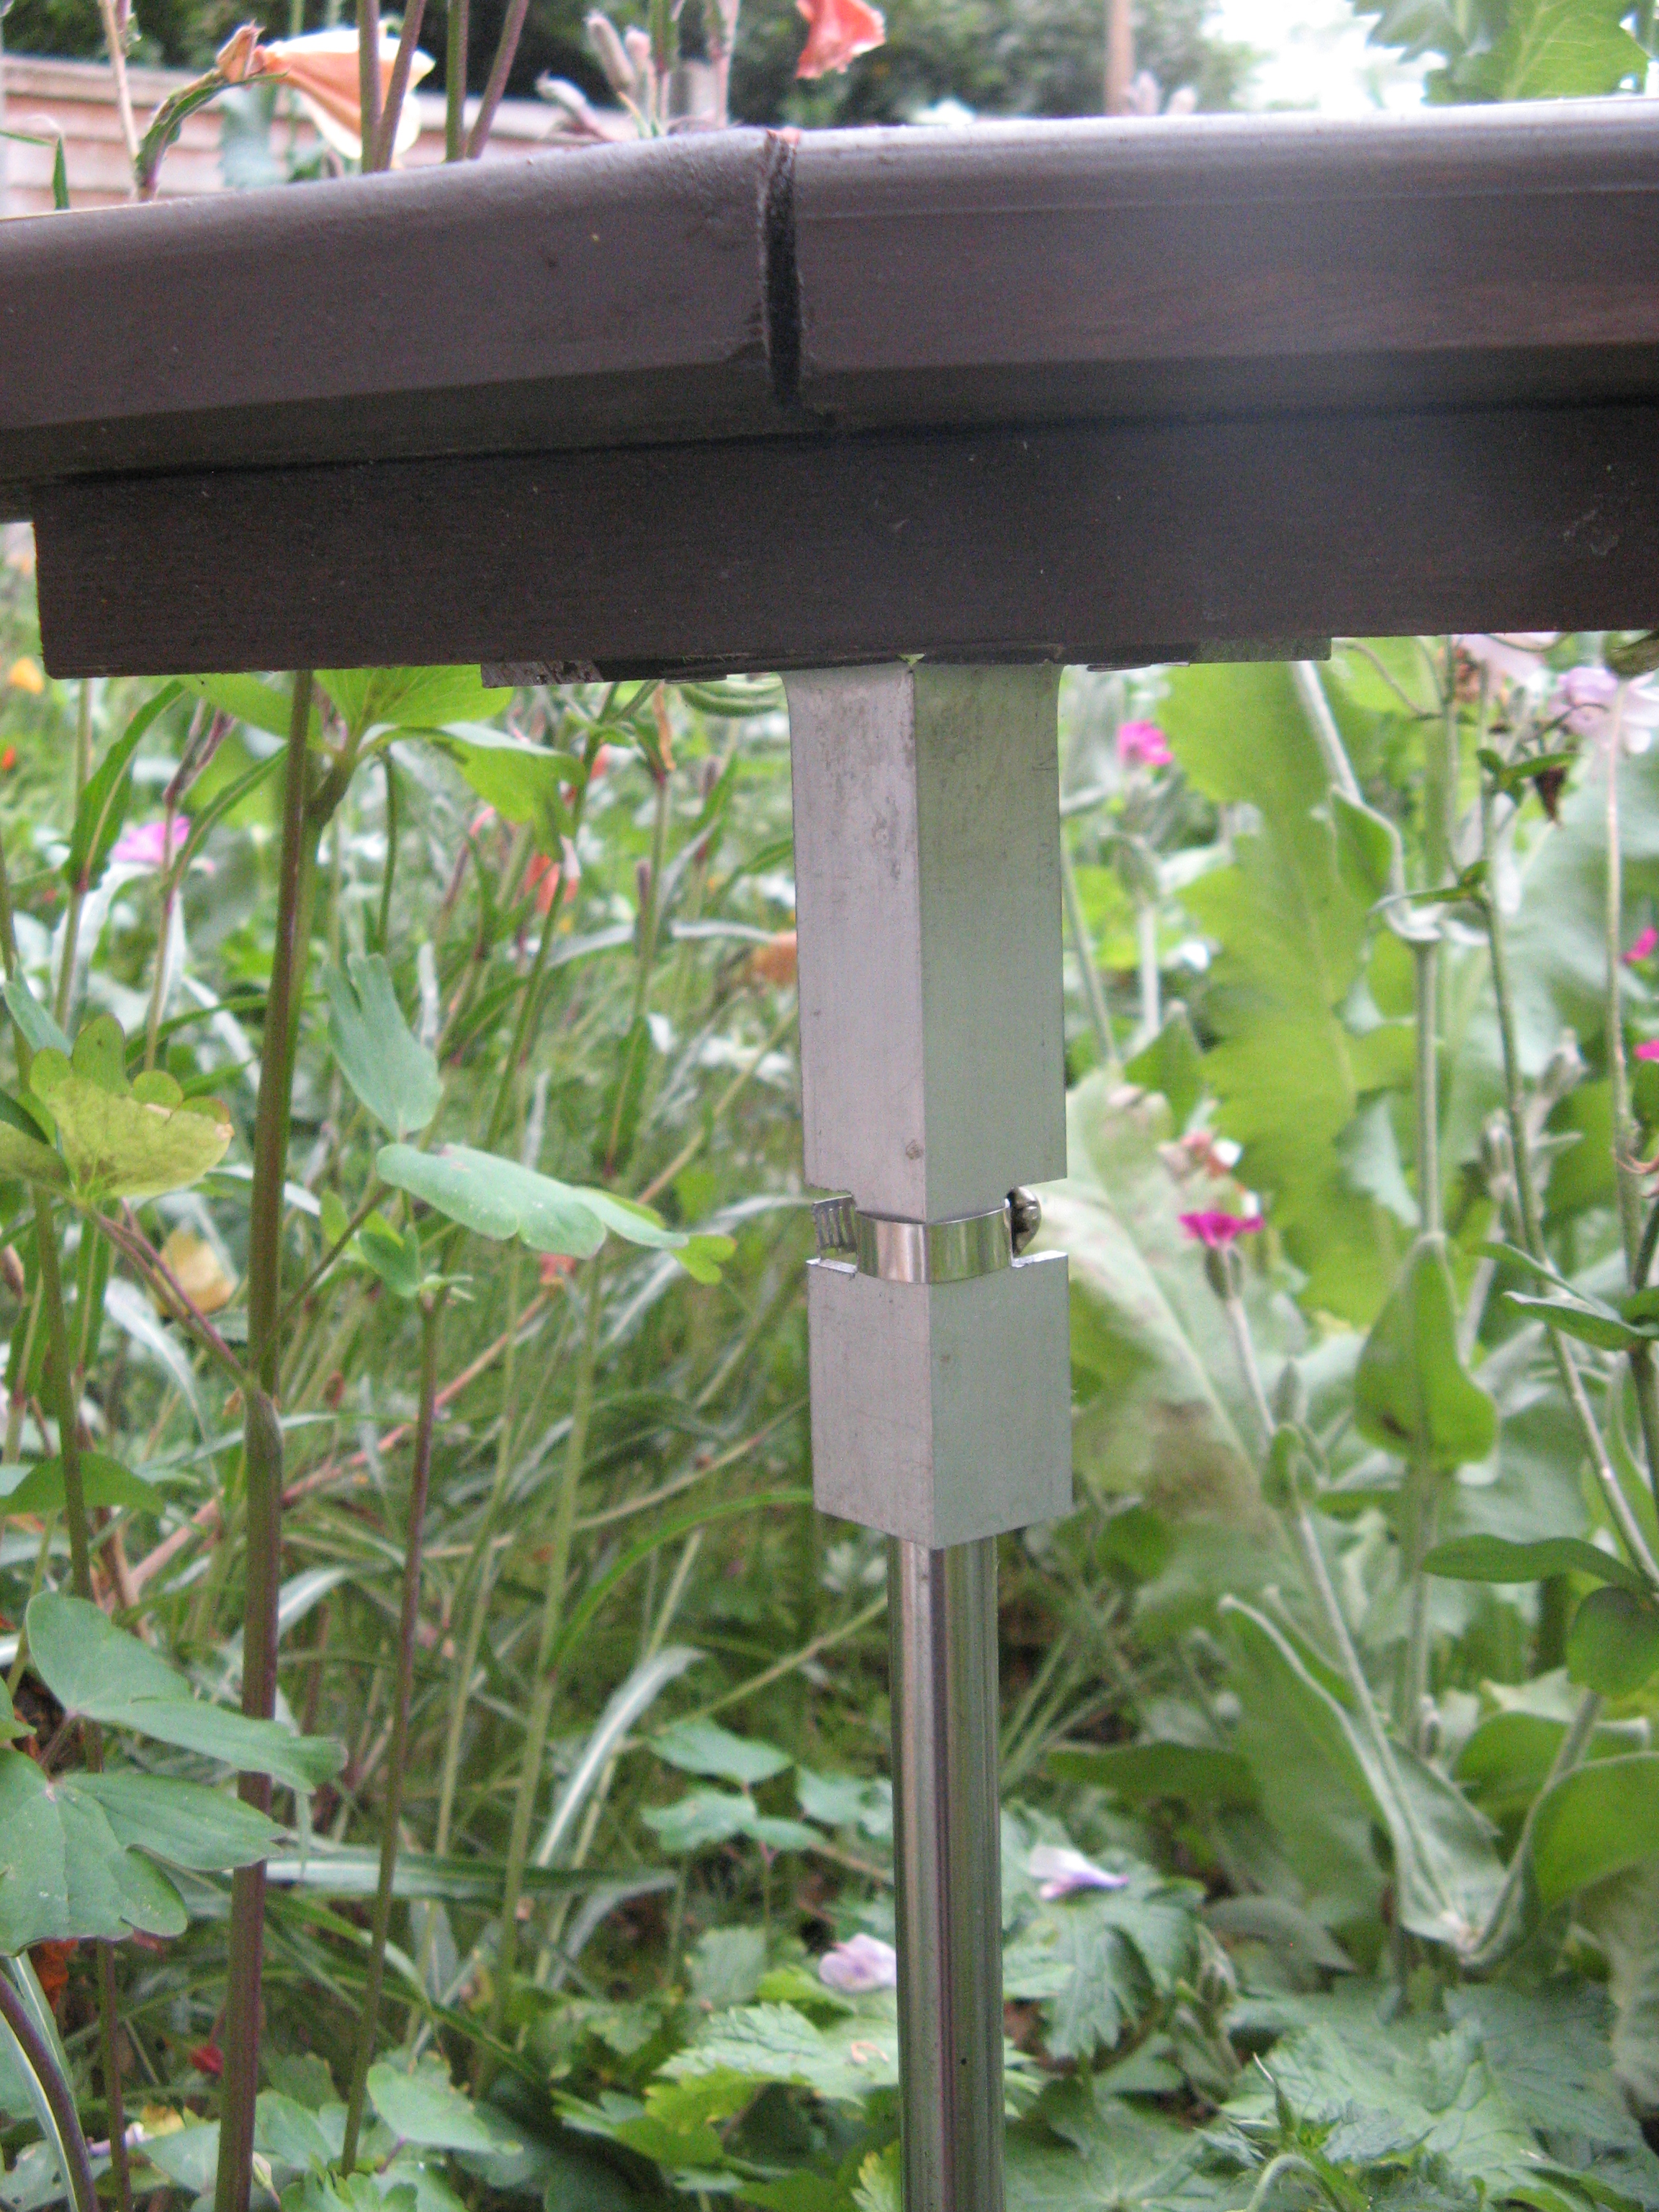
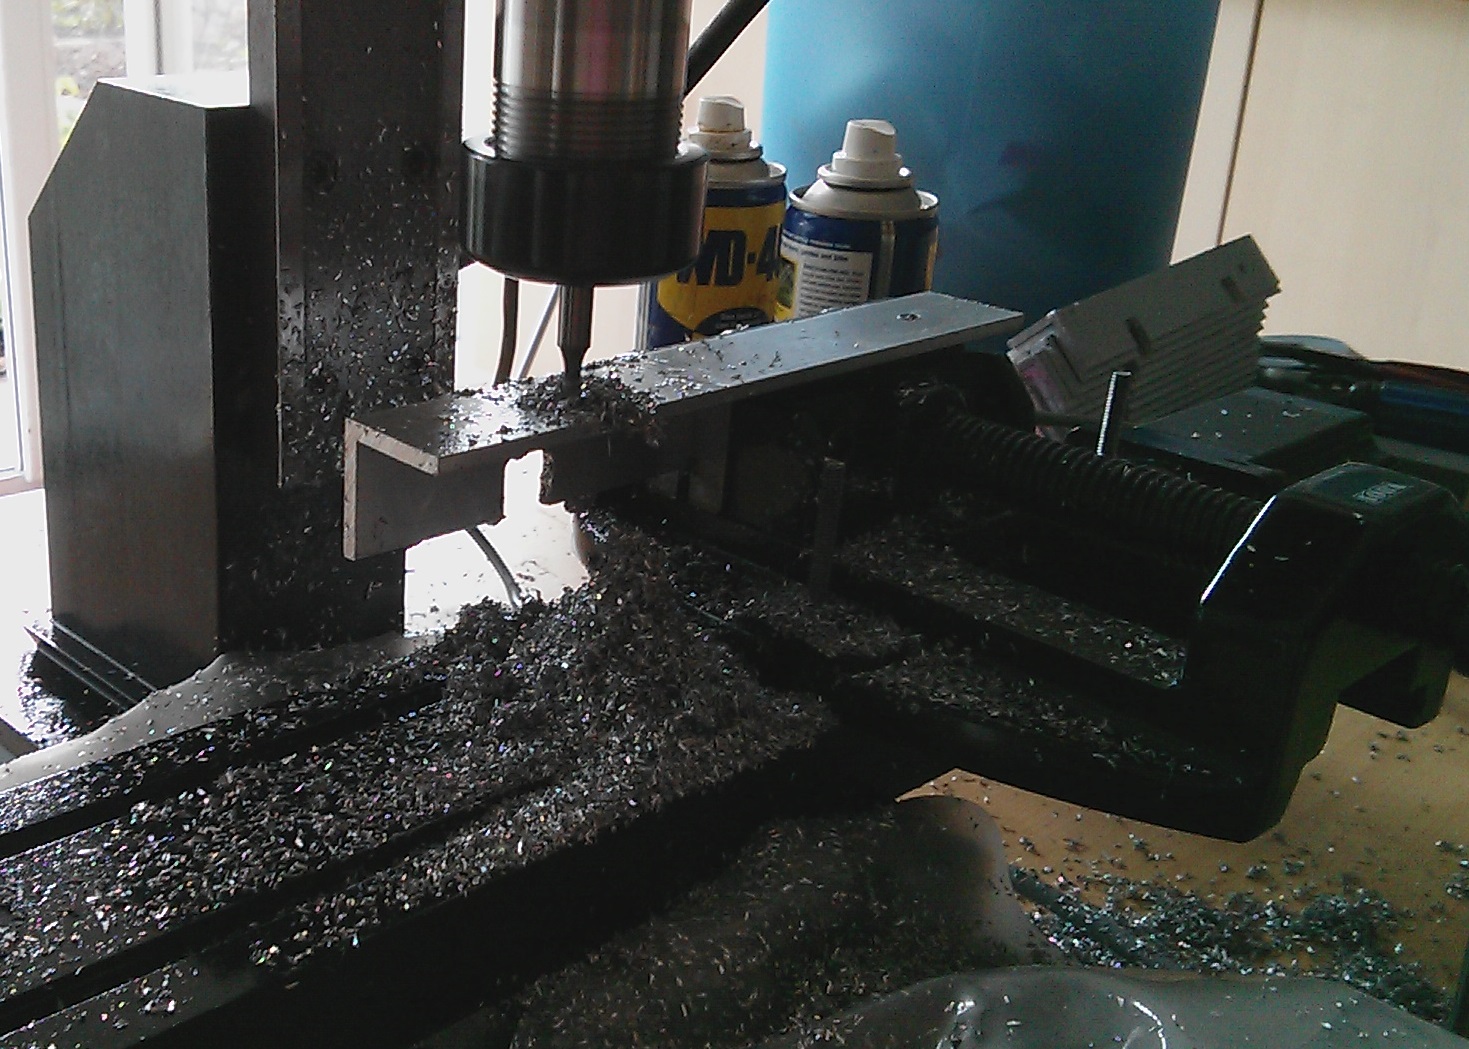
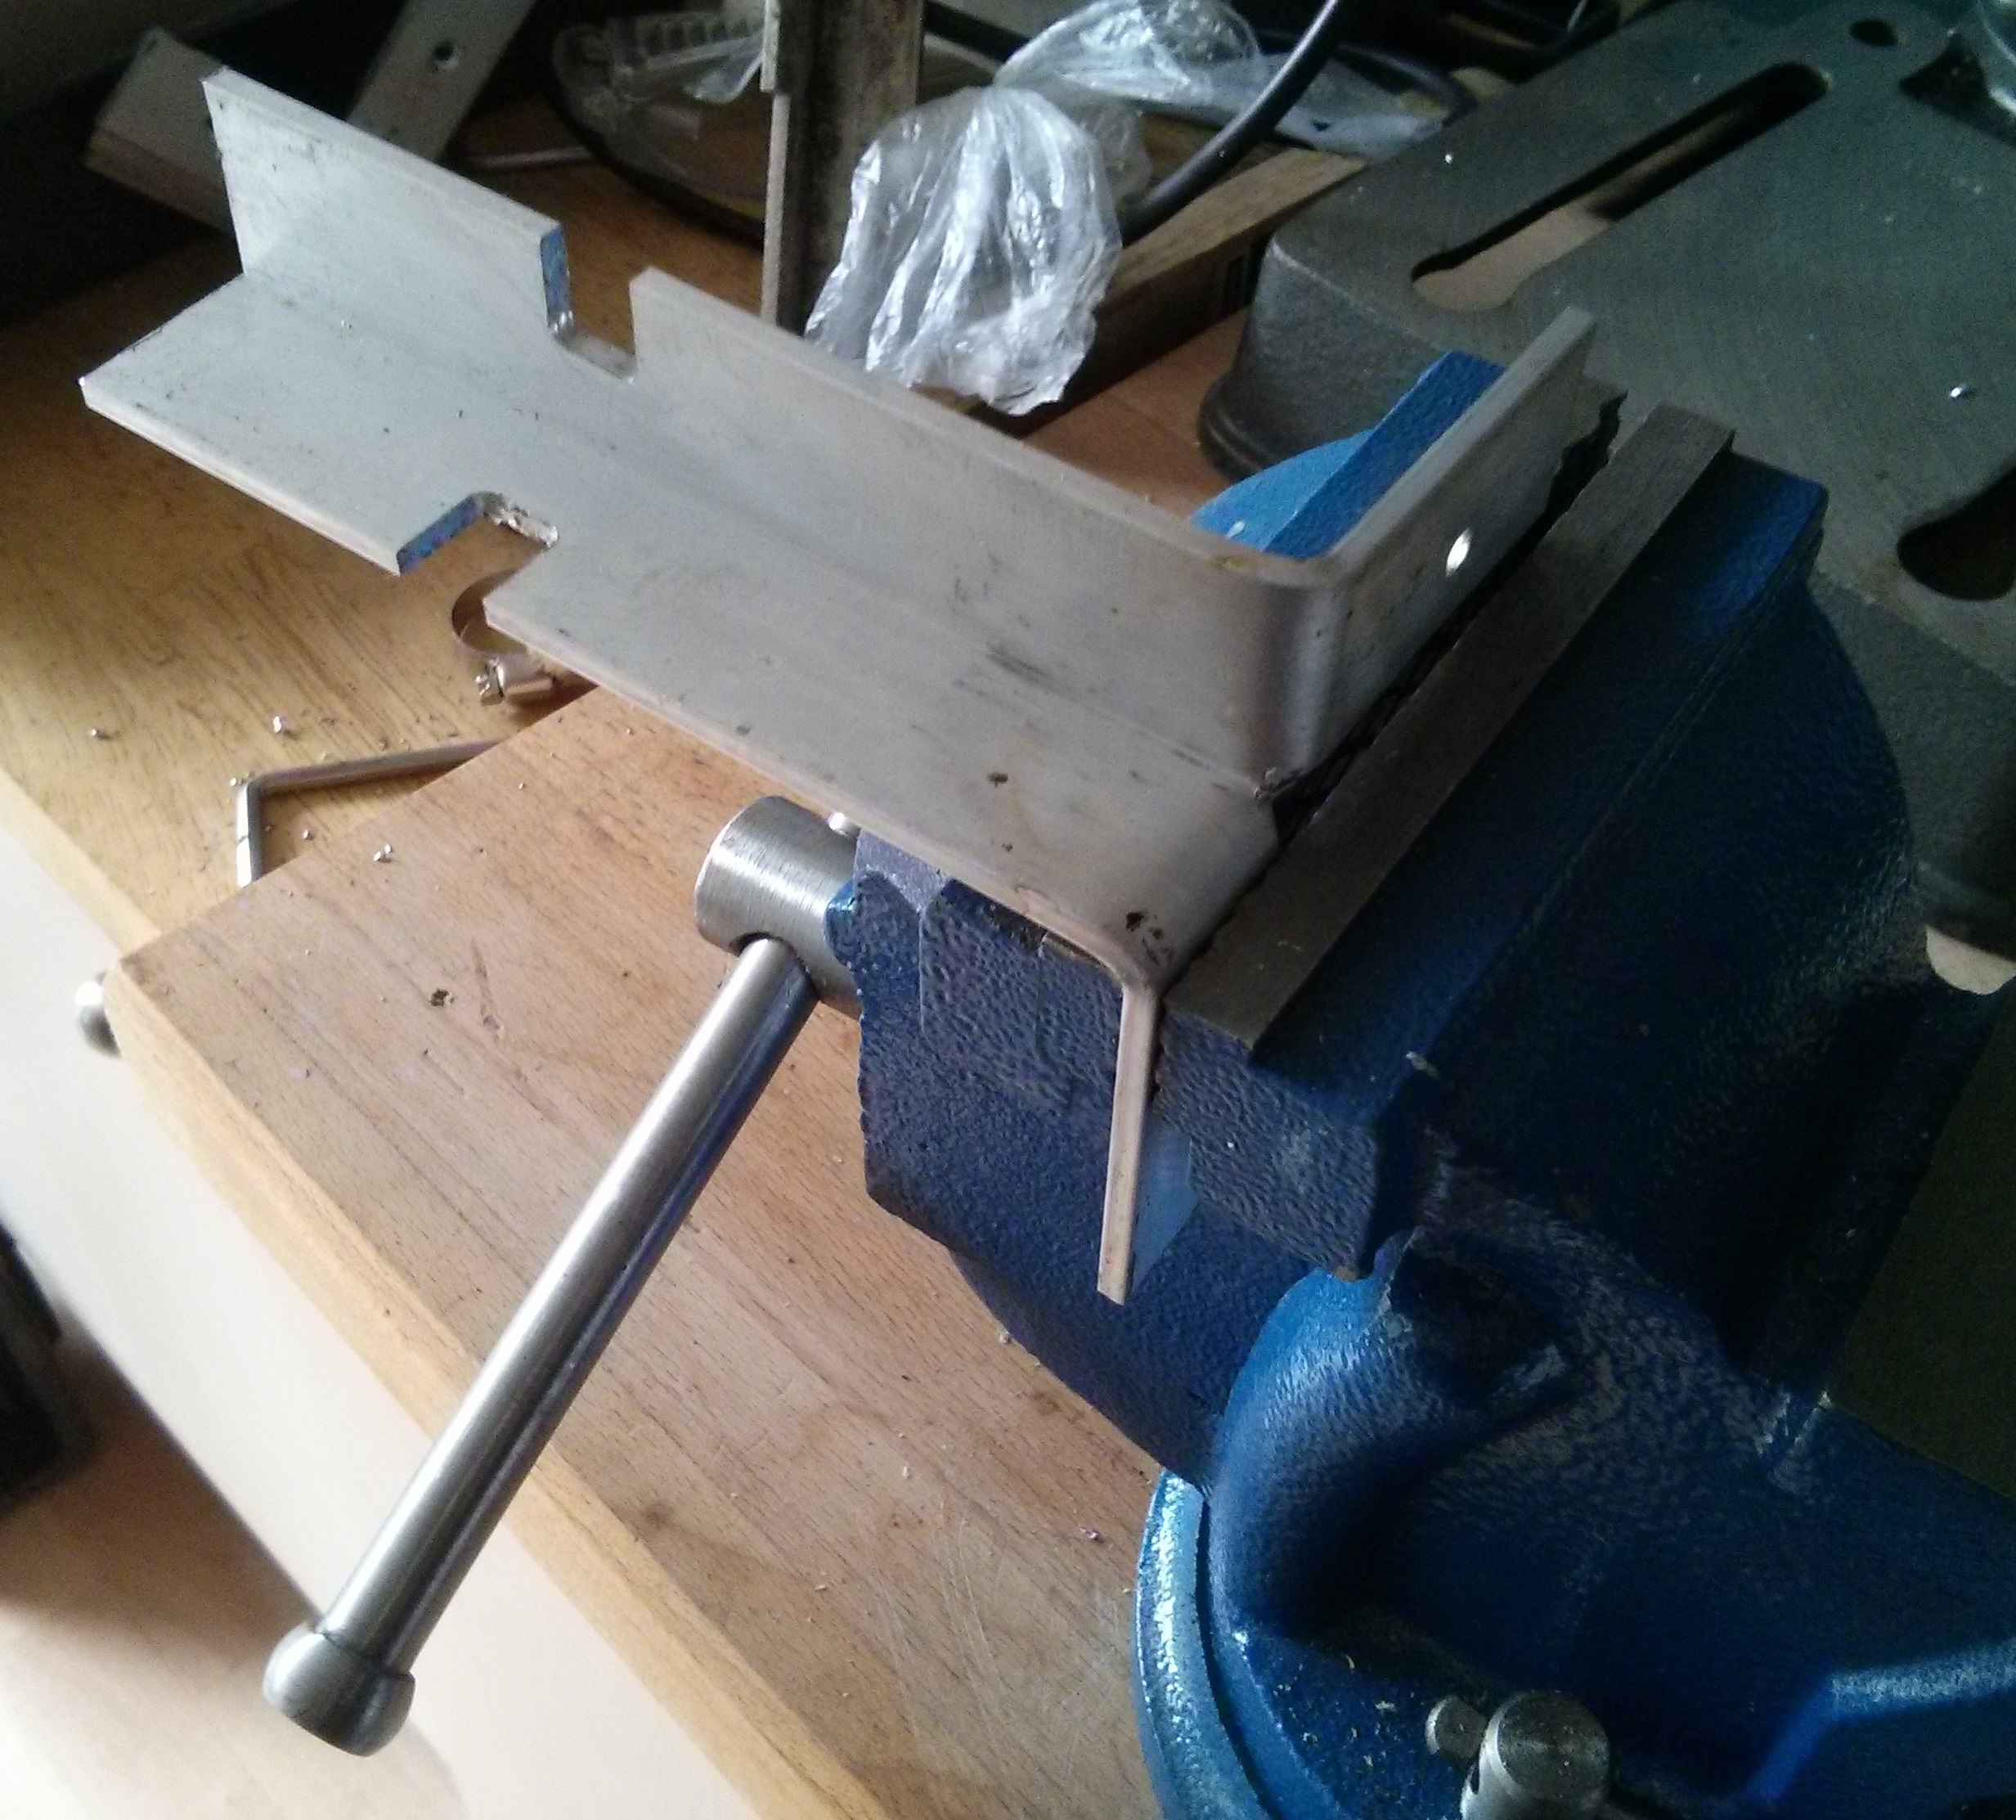
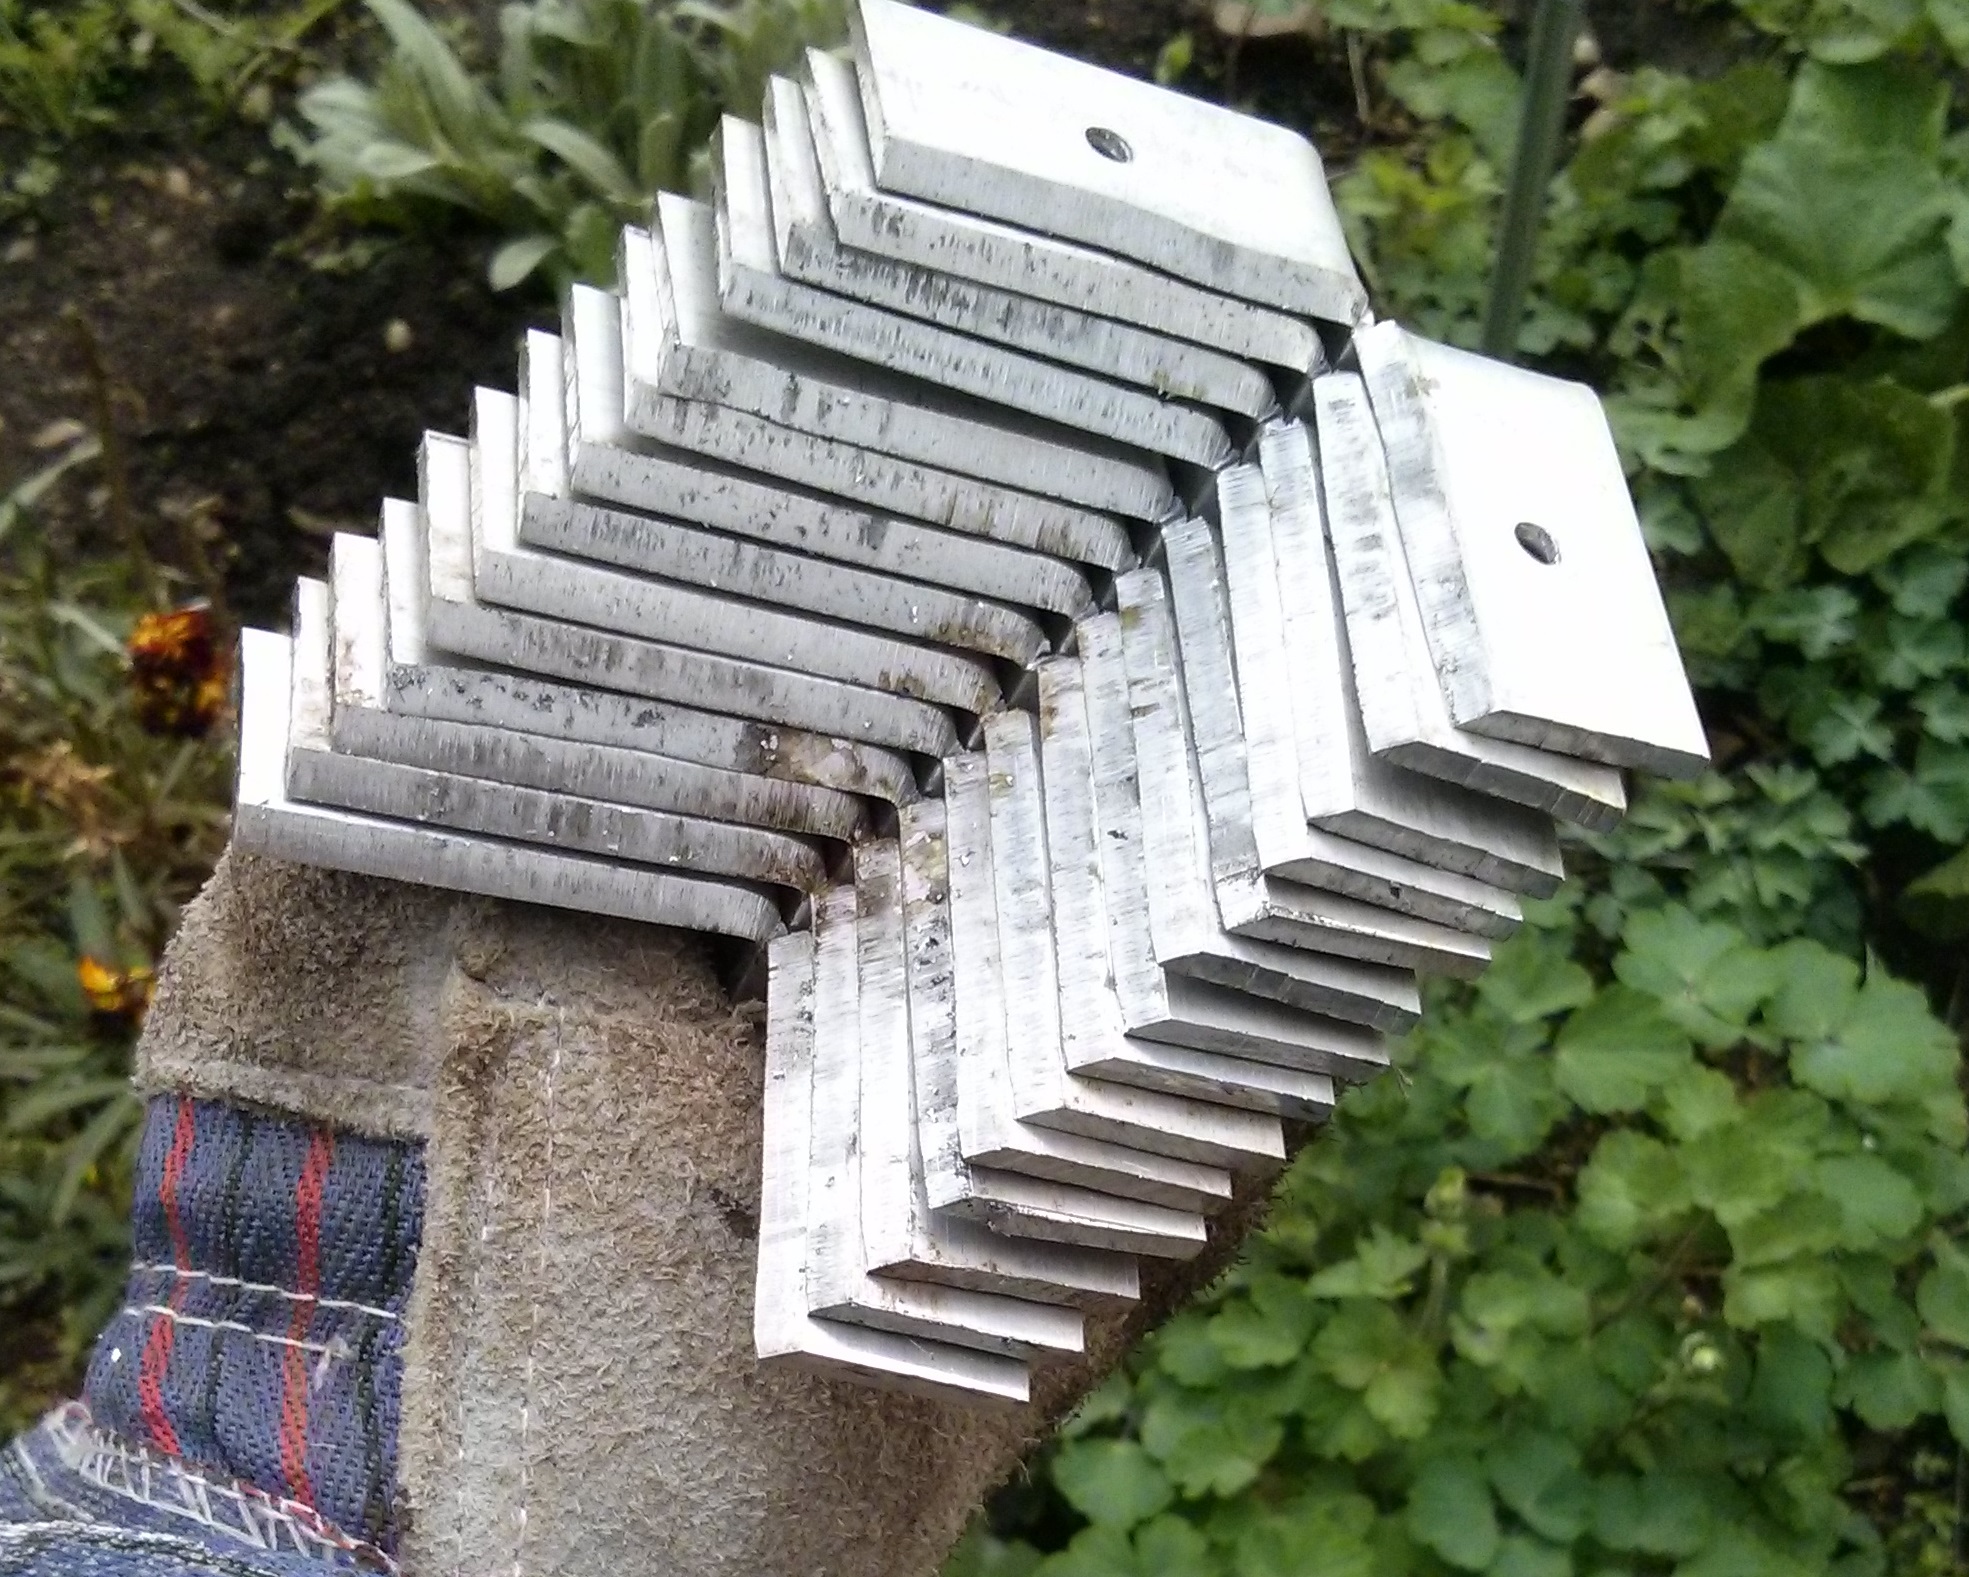
Alan went away to think, and came back with something he had made out of 3mm aluminium angle. He had slit the angle on the bandsaw and bent the ears back to make a bracket that could be screwed to the underside of the track, then cut away the other end to allow a hose clip to clamp the bracket to an upright. I worked up the design a bit, using my CNC Sherline mill to cut slots for the clip, and annealing the aluminium on the hob using the 'black soap' method (taught to me by another good friend and fine G1 engineer, Peter Jackman) before bending.
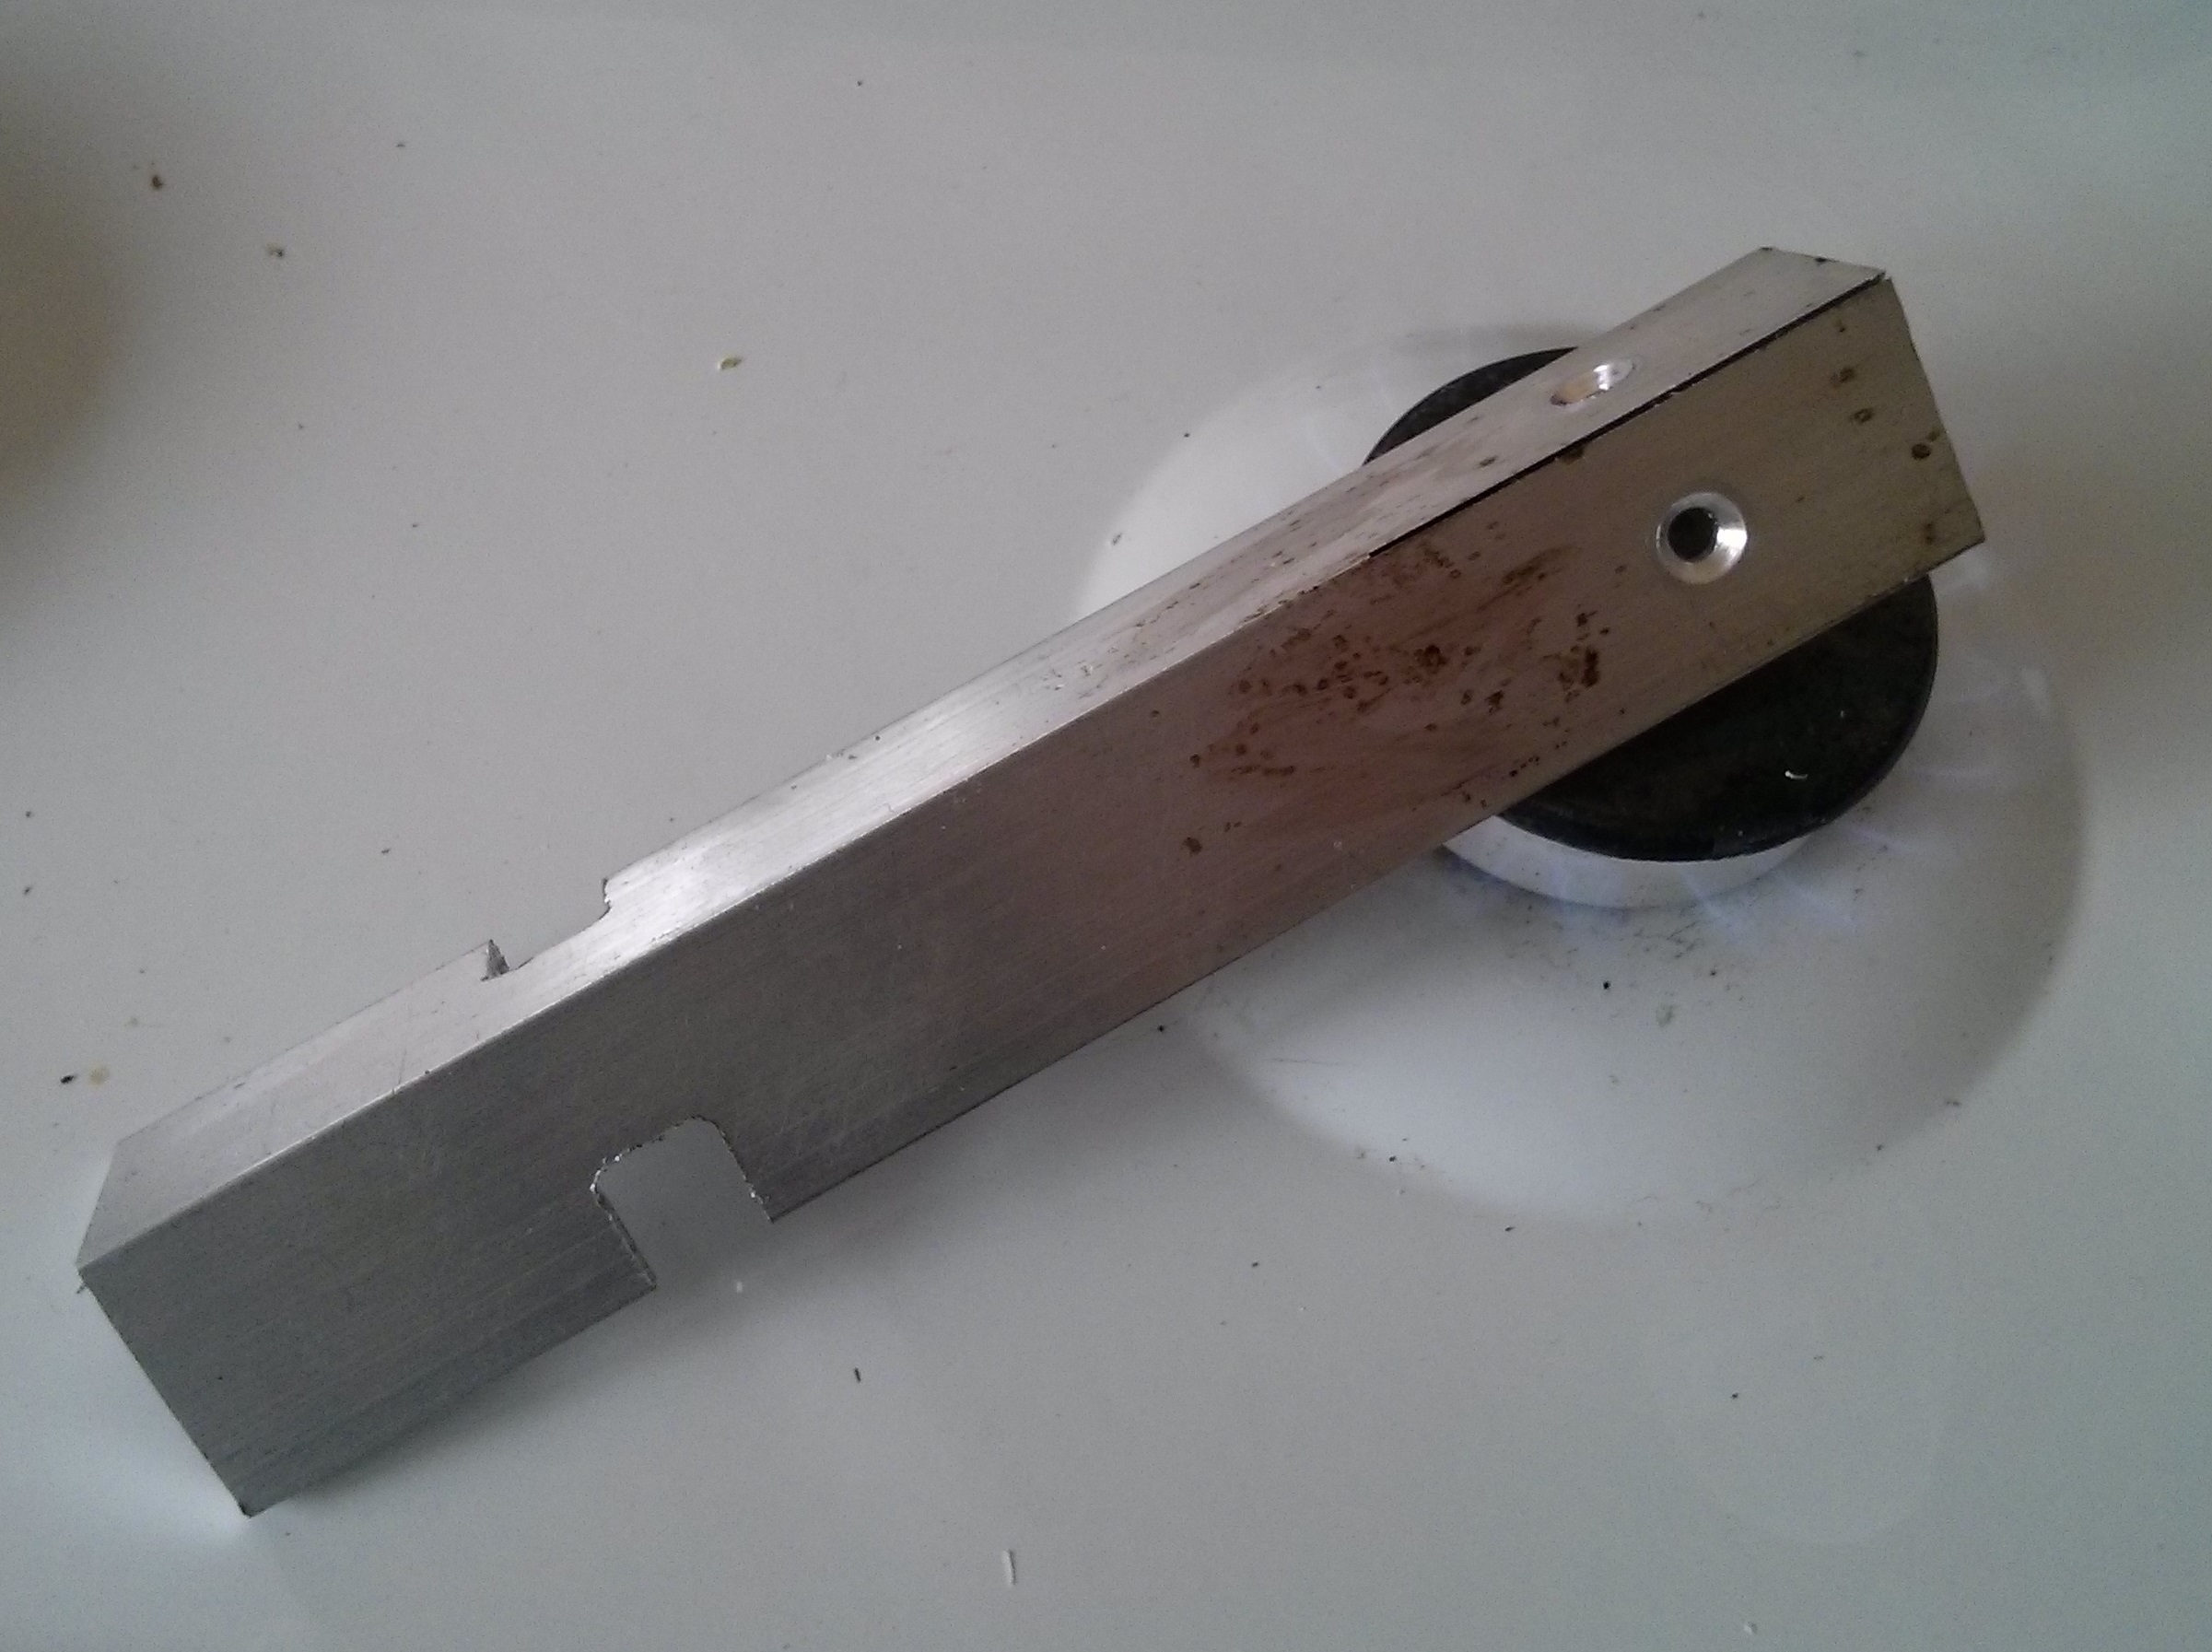
Sadly, Alan passed away just as I was putting the finishing touches to the track, so he never saw it in action. I built his prototype bracket into the top curve; I'm rather pleased to have something he made for me doing the job it was intended for.
 Peter helped me to draft a plan of the garden using DraftSight (the
free Autocad-like 2D drawing tool) and then loaded it into Templot,
the well known and rather unintuitive track planning software. The
garden is slightly wedge shaped. The house, and a large patio are at
the bottom of the drawing. There is an approximately 12m by 9m
growing area, and then at the bottom a substantial free-standing
building that I use as a combined workshop and office.
Peter helped me to draft a plan of the garden using DraftSight (the
free Autocad-like 2D drawing tool) and then loaded it into Templot,
the well known and rather unintuitive track planning software. The
garden is slightly wedge shaped. The house, and a large patio are at
the bottom of the drawing. There is an approximately 12m by 9m
growing area, and then at the bottom a substantial free-standing
building that I use as a combined workshop and office.
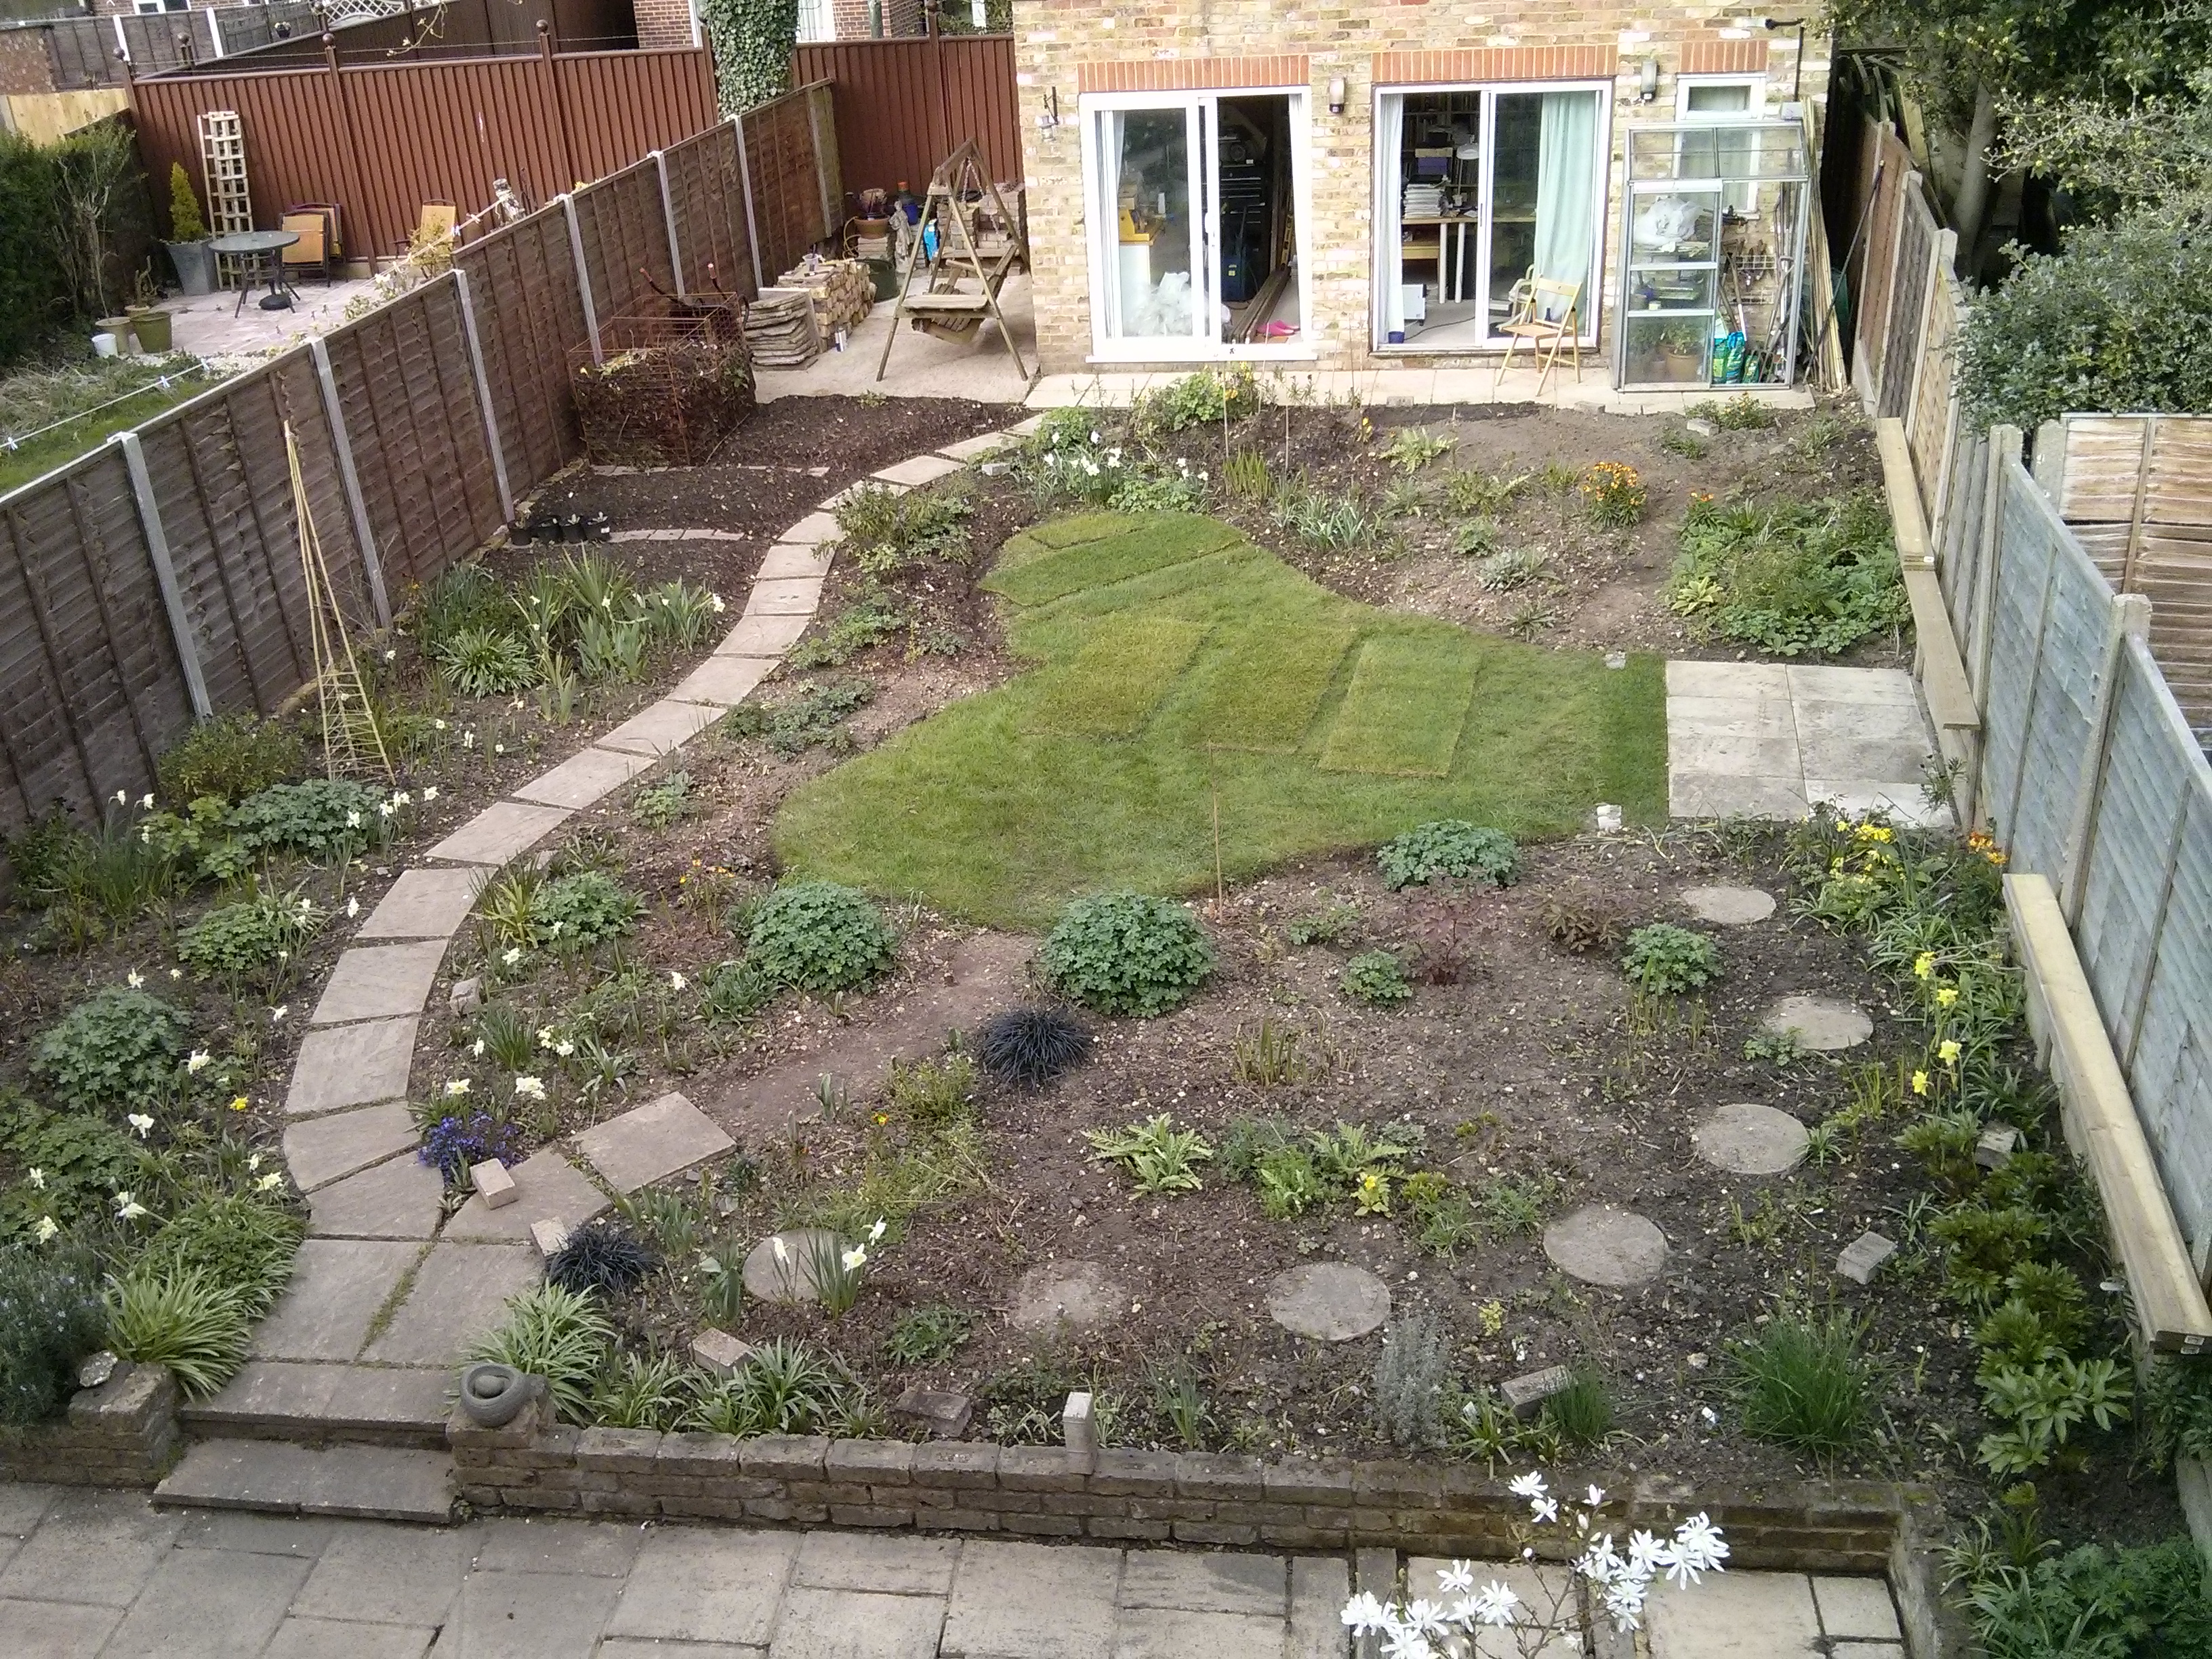 During 2014 I had finished
clearing the garden and laid out beds to suit the railway. The
running line is a basic oval with 3m radius curves. The right hand
straight goes up the fence and the return is a gentle reverse curve
which gets the trains swinging as they come back towards the house. There
is a single trailing point off of the running line leading to a pair
of 5-6m long sidings down to the house tohold stock and for steaming up. This
picture gives you a good idea of how bare everything is even in early
March.
During 2014 I had finished
clearing the garden and laid out beds to suit the railway. The
running line is a basic oval with 3m radius curves. The right hand
straight goes up the fence and the return is a gentle reverse curve
which gets the trains swinging as they come back towards the house. There
is a single trailing point off of the running line leading to a pair
of 5-6m long sidings down to the house tohold stock and for steaming up. This
picture gives you a good idea of how bare everything is even in early
March.
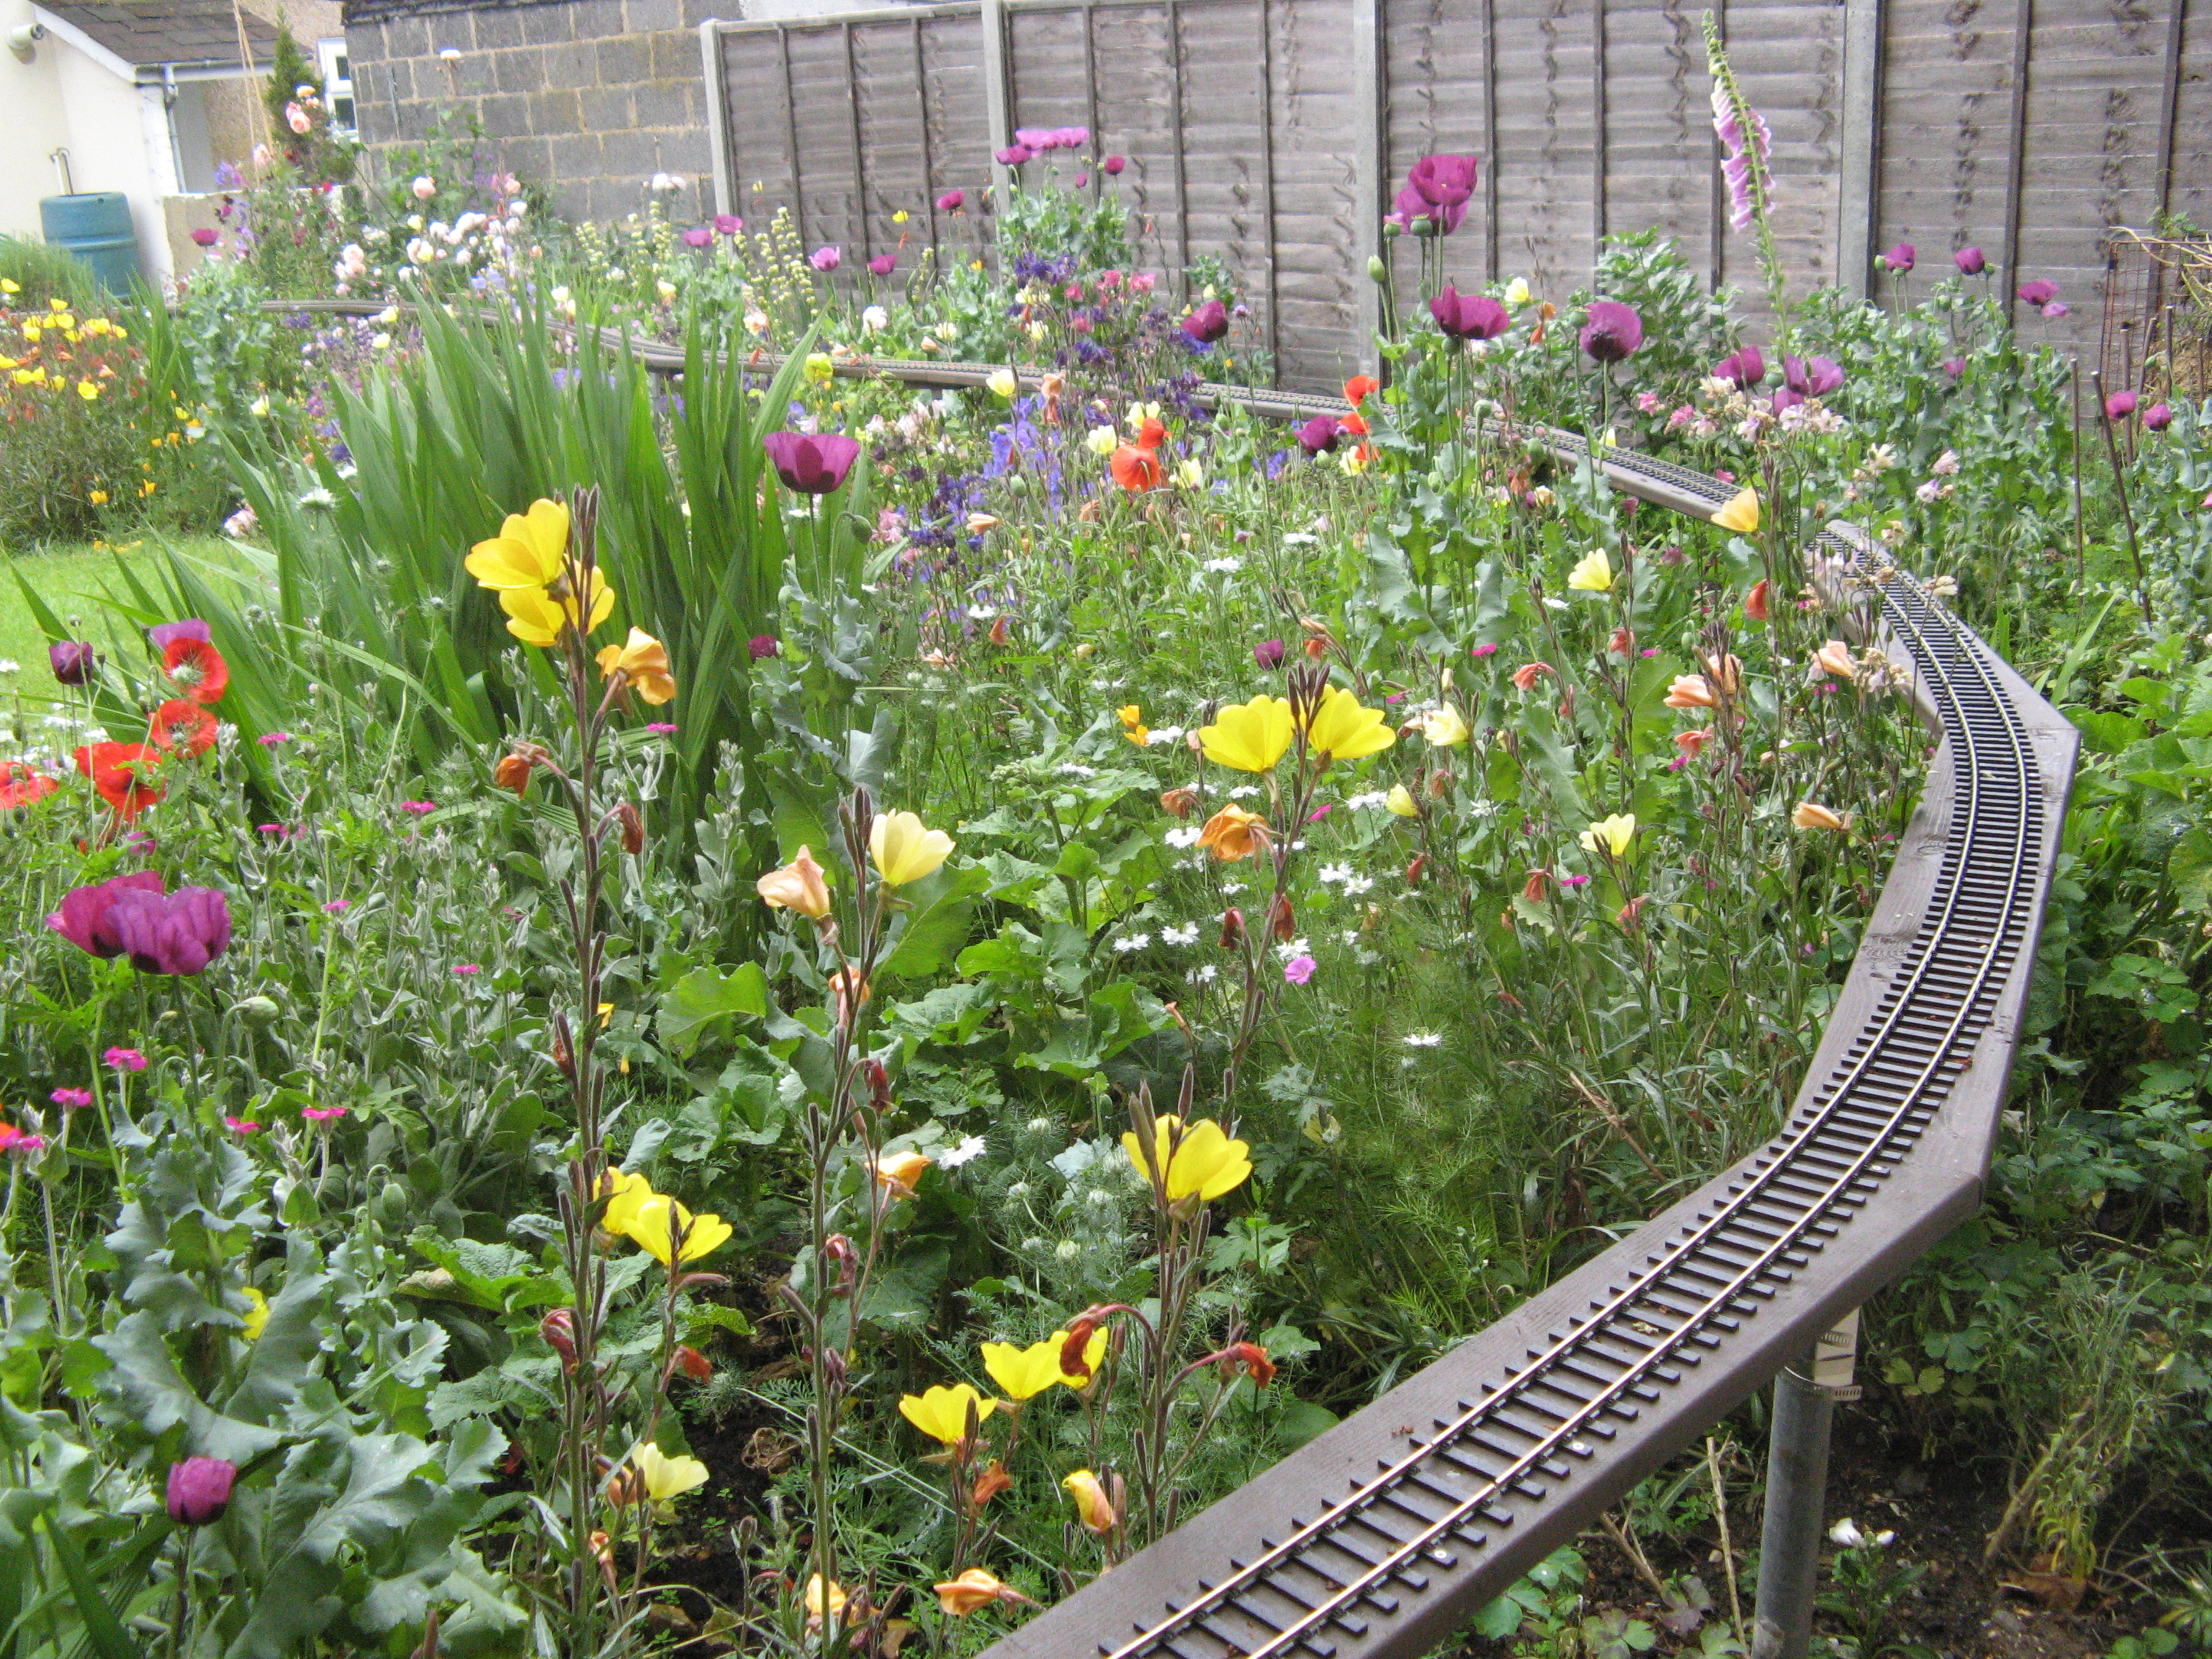 I spent quite a lot of time
trying different geometries for the deck board. In the end I used an
18-segment circle (thus an angle of 20 degrees between segments) for
the basic curves, adjusting to suit on the transitions and the reverse
curve. I wanted an odd number so that there would be straight section
alongside the top and bottom paths. The track drifts from one side of
the board to another as it goes round the curve, as you can see here.
I spent quite a lot of time
trying different geometries for the deck board. In the end I used an
18-segment circle (thus an angle of 20 degrees between segments) for
the basic curves, adjusting to suit on the transitions and the reverse
curve. I wanted an odd number so that there would be straight section
alongside the top and bottom paths. The track drifts from one side of
the board to another as it goes round the curve, as you can see here.
Originally I planned to leave the deck board plain, but it was a little stark with the track on it, so over the winter of 2014-15 I painted it with a proprietary wood treatment that has some wax in it. This is quite good at shrugging off the oil and hot water thrown out by live steam engines. On the other hand, it doesn't stick brilliantly well to smooth planed deck board, so I may have to regularly patch it up.
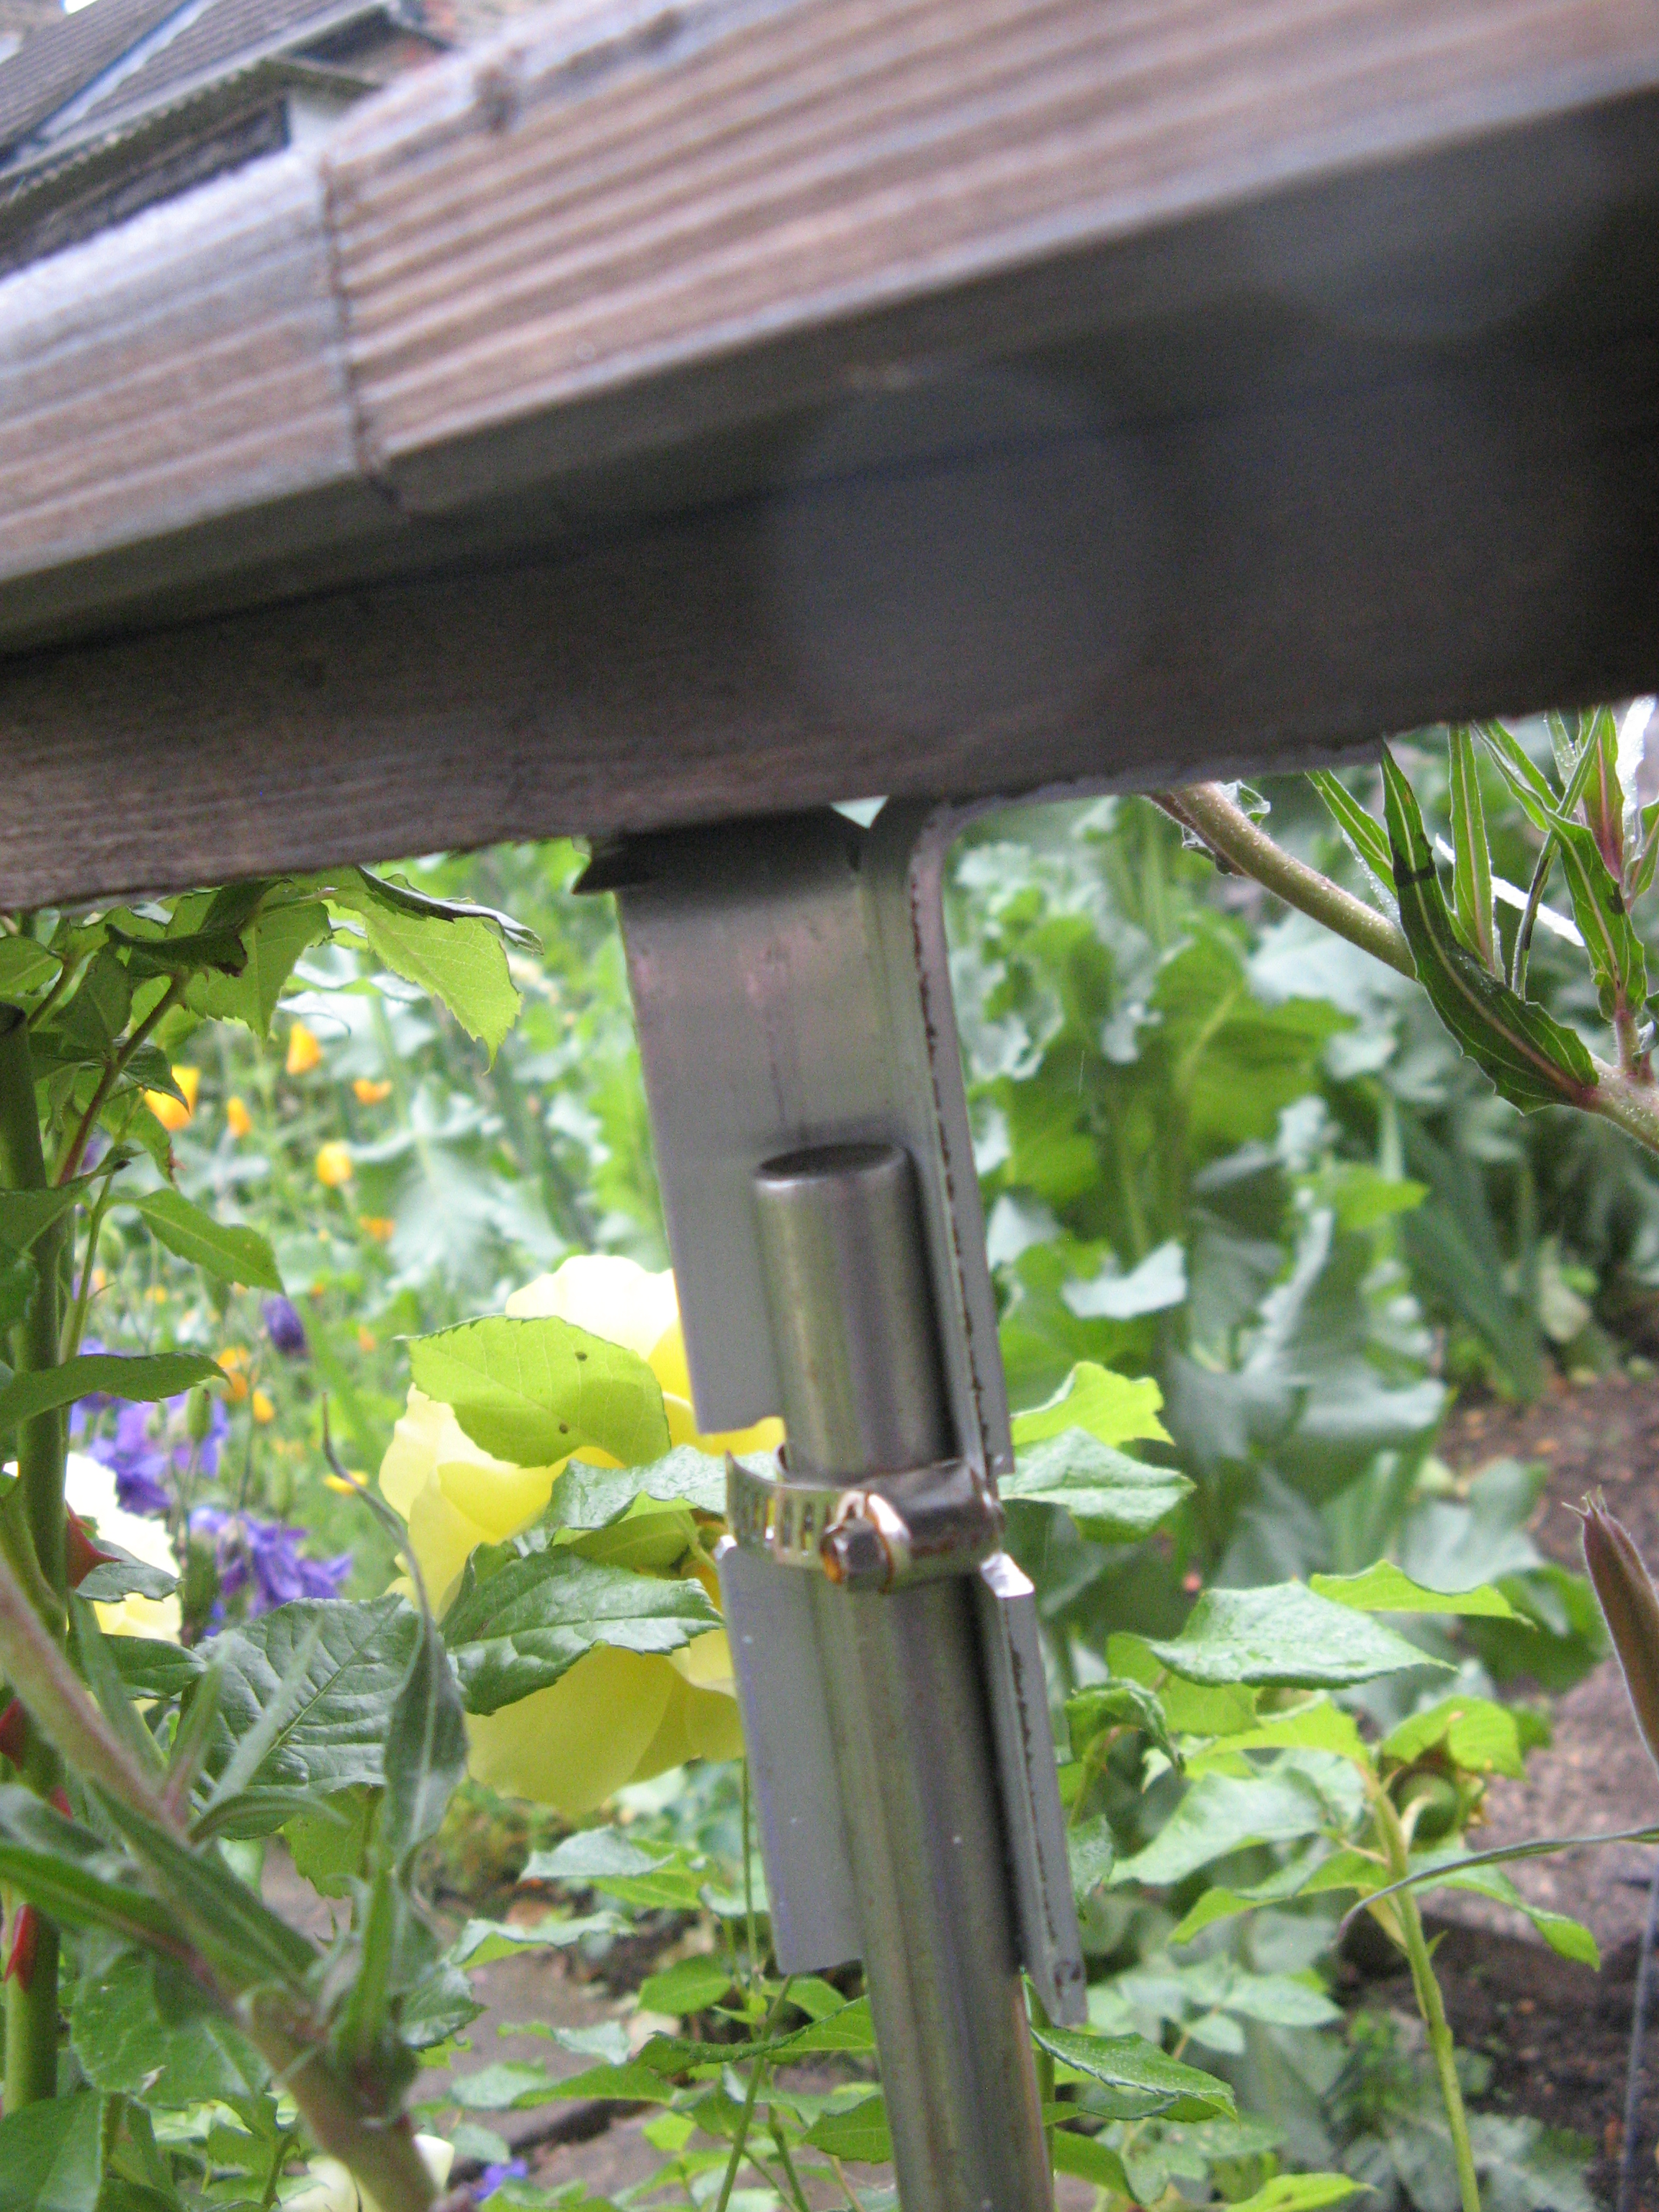
 Alan had wondered whether in the end the stainless steel tubes would
be rigid enough... They are, almost. I always intended to use scaffold
pole uprights for robustness either side of the path which is spanned
by a lift-out section. In the end I put in a scaffold pole every five
or so stainless ones, and made double-clamp versions of the
bracket to suit.
Alan had wondered whether in the end the stainless steel tubes would
be rigid enough... They are, almost. I always intended to use scaffold
pole uprights for robustness either side of the path which is spanned
by a lift-out section. In the end I put in a scaffold pole every five
or so stainless ones, and made double-clamp versions of the
bracket to suit.
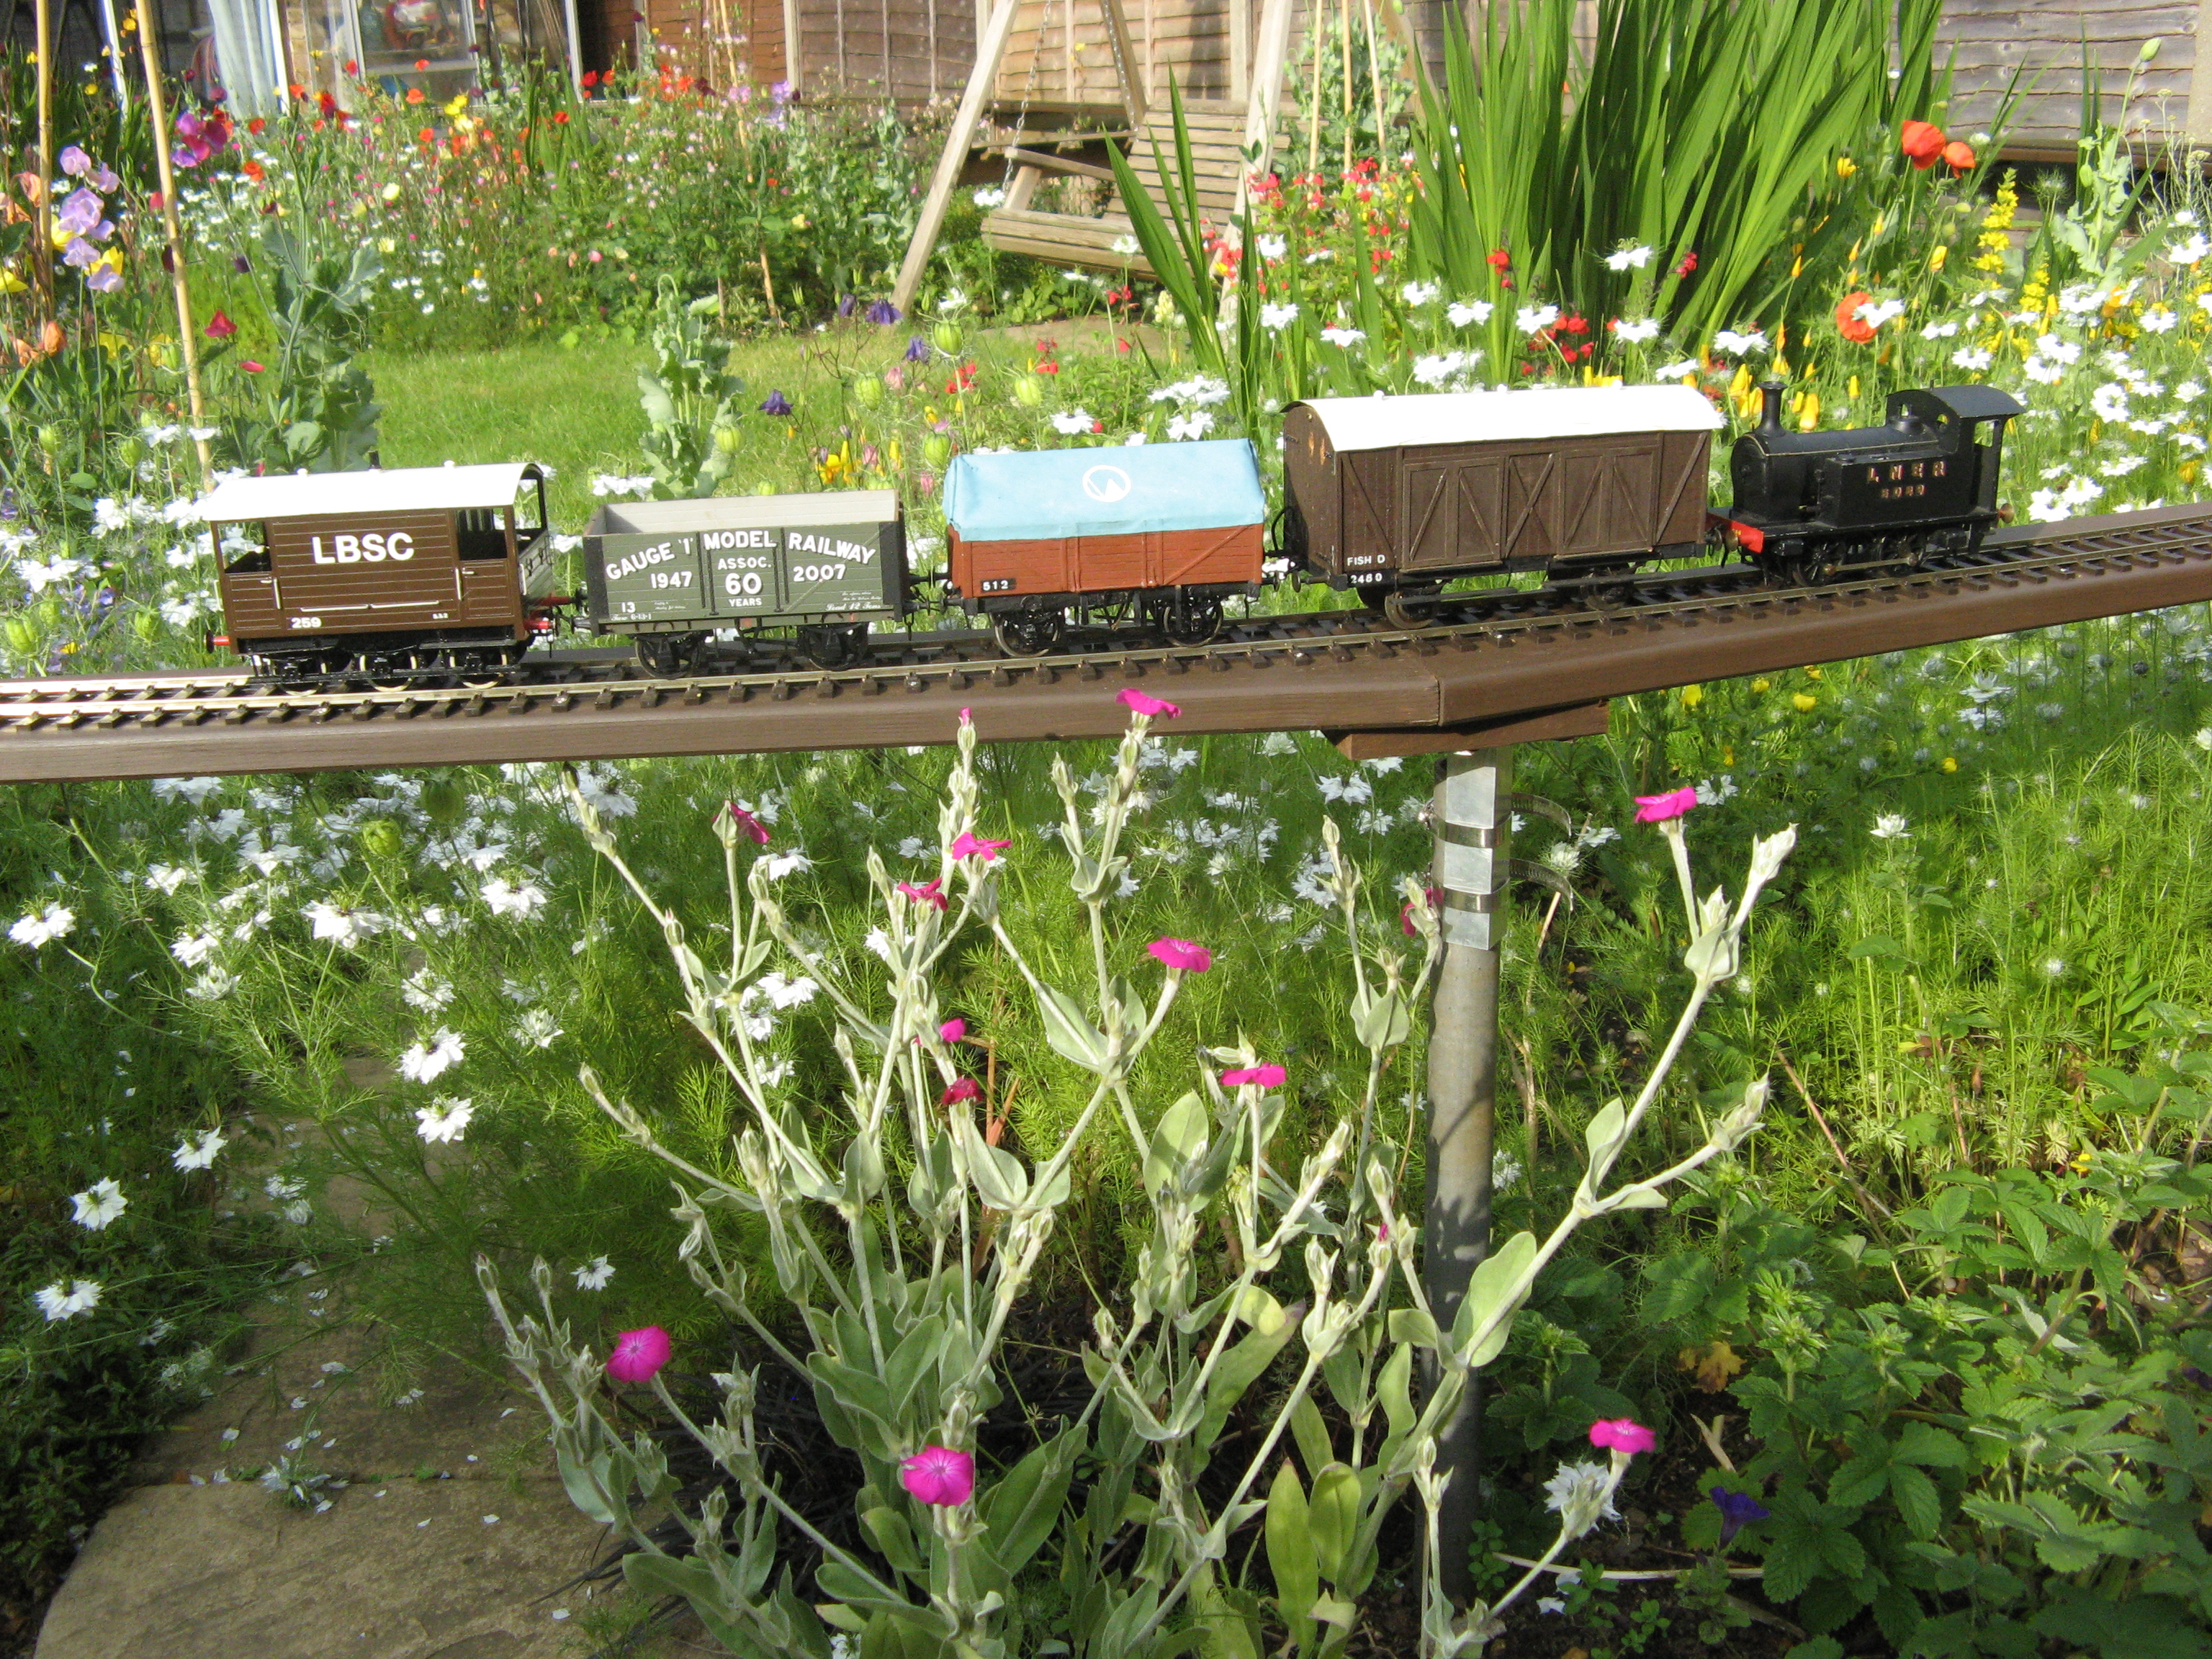
The main running loop is around 24m long which comes out as just under half of a scale mile; a train running at a scale 30mph takes one minute to go round. The track and points are Peco: I found some excellent bargains on eBay, and the points in particular are very well made. They might not suit the purist since the code 200 rail is a bit chunky, but for a test track like mine they look great, and I like the look of nickel-silver outside. The uprights are inserted into 10cm diameter holes in the ground drilled with an auger Peter lent me, and cleaned up with a sharp trowel. About one third of a bag of postcrete is enough to hold each one steady. The uprights, track sections and brackets were assembled together before postcreting and then temporary brick piers used to hold everything in position whilst the concrete set. This way the track geometry and neatness of the posts is assured without needing carefully measured groundwork.
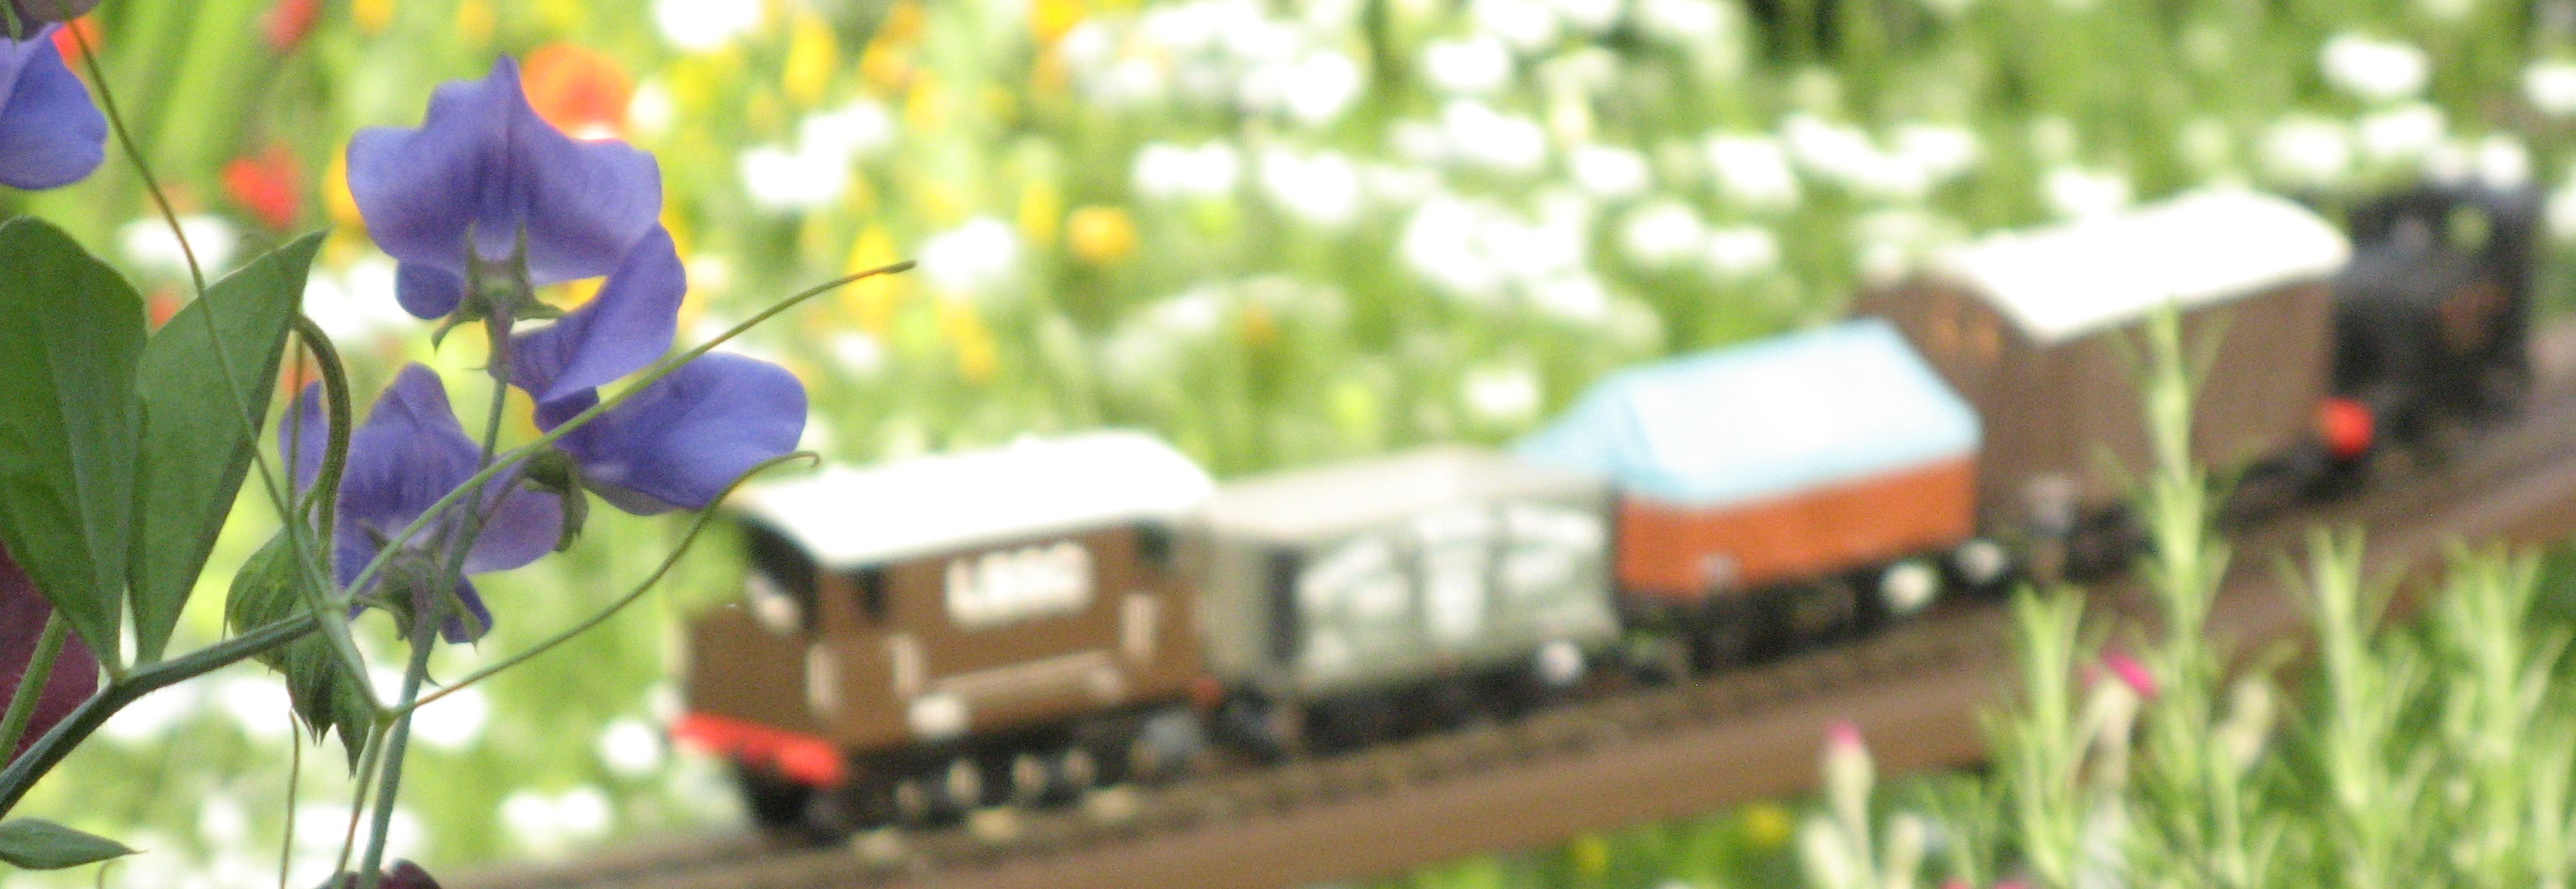
The garden is not overwhelmed by the railway, and I rather like the look of my little tank engines fighting their way past scale 3m diameter peonies and roses. Rivet counters, on the other hand, might not enjoy my style of railway. There's space for everybody in Gauge 1...
One other thing: the name. There are not many prototypes for G1 style elevated lines. My father grew up near the Bootle end of the Liverpool Overhead Railway, which perhaps qualifies, and of course the first line into London (Greenwich to London Bridge) was built on a viaduct.
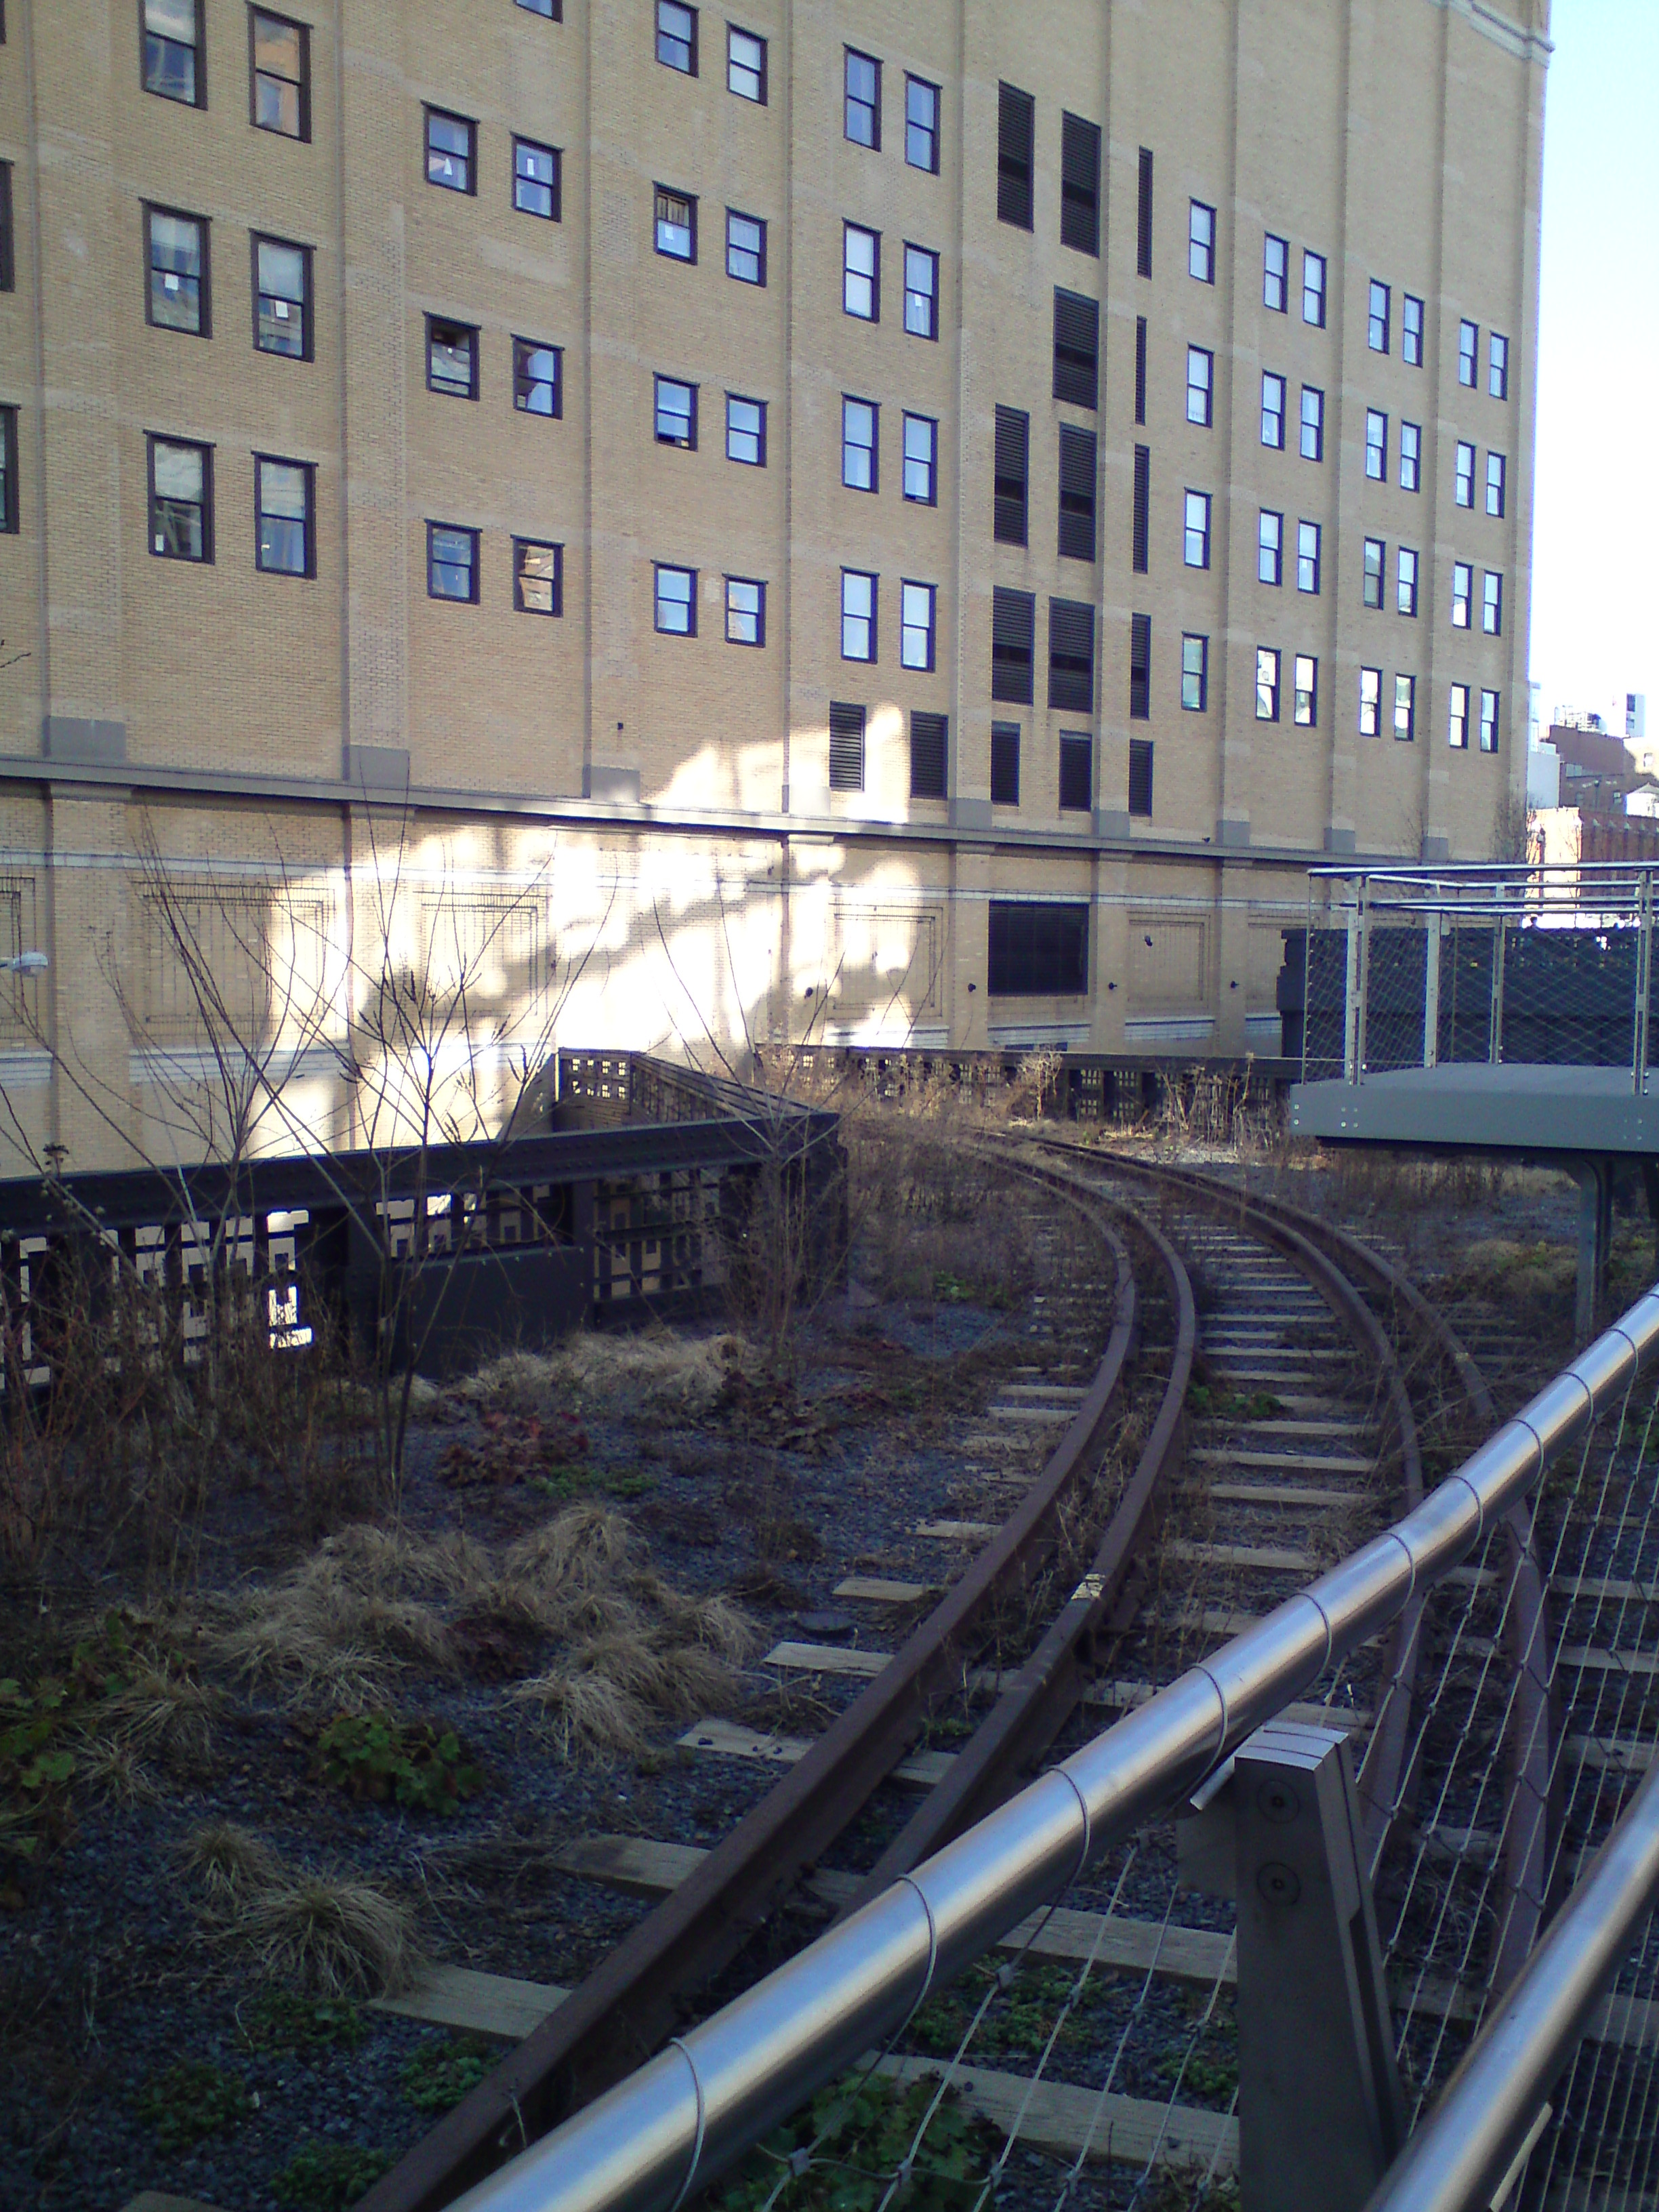
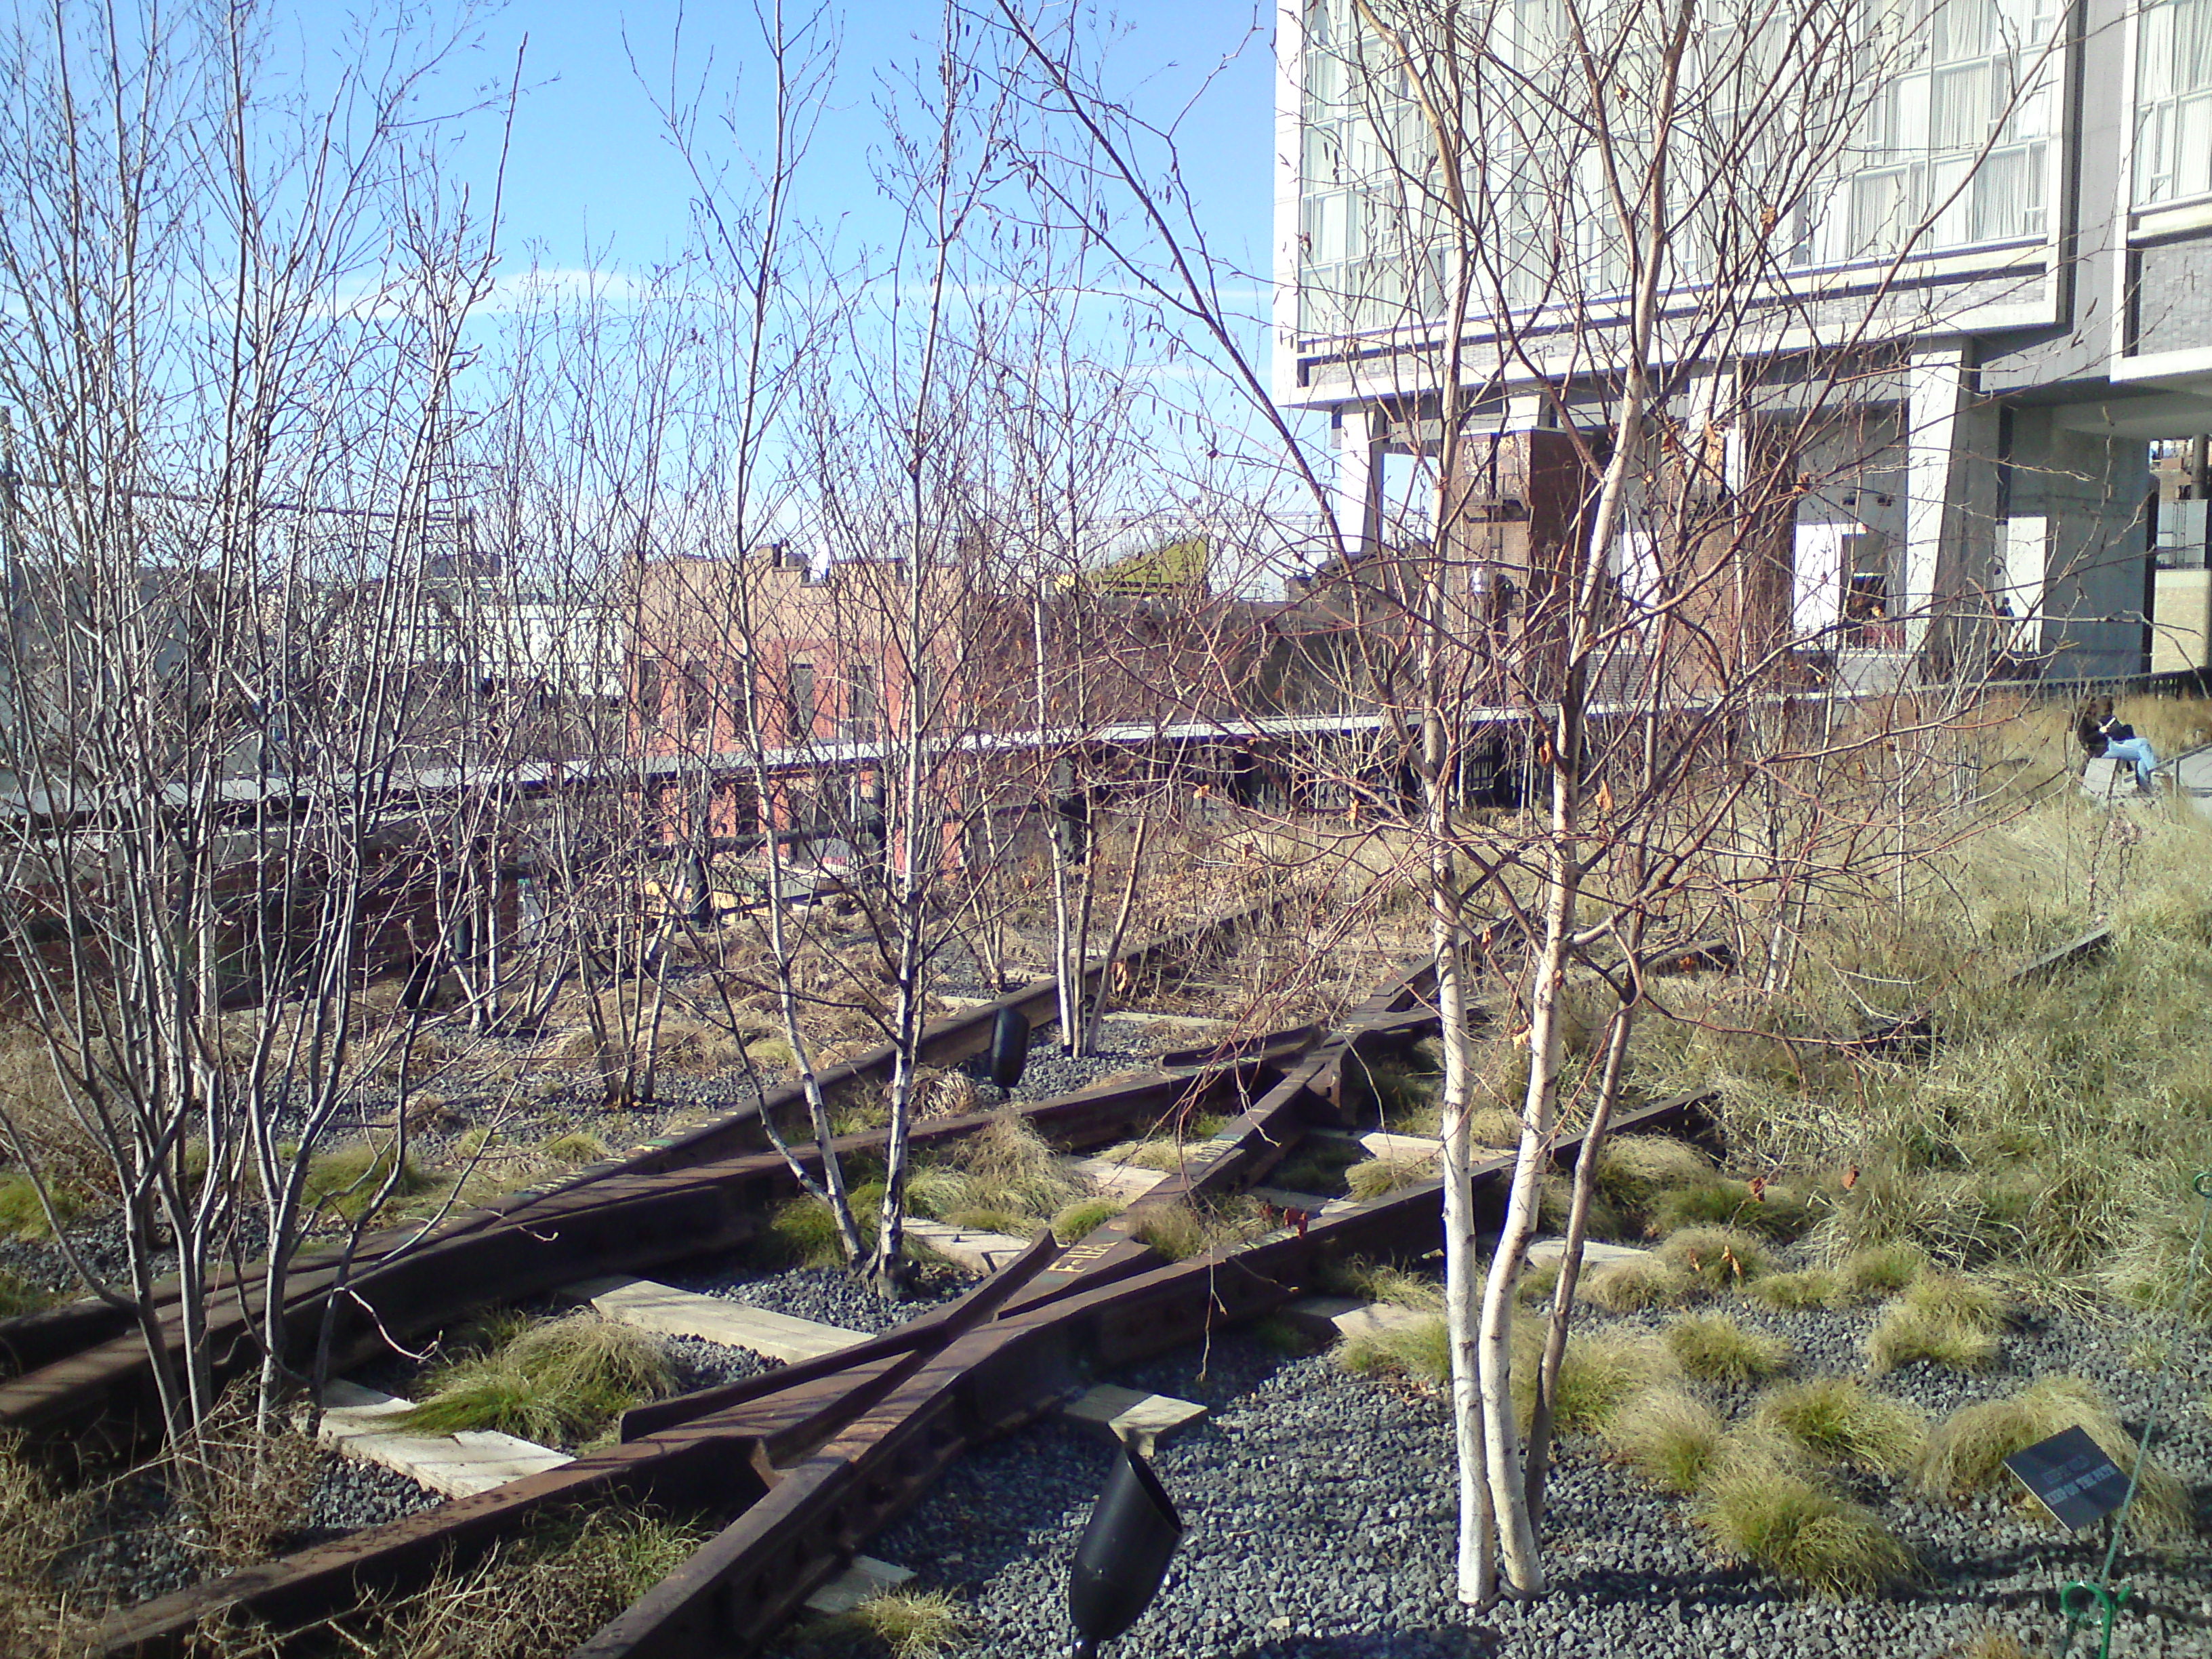
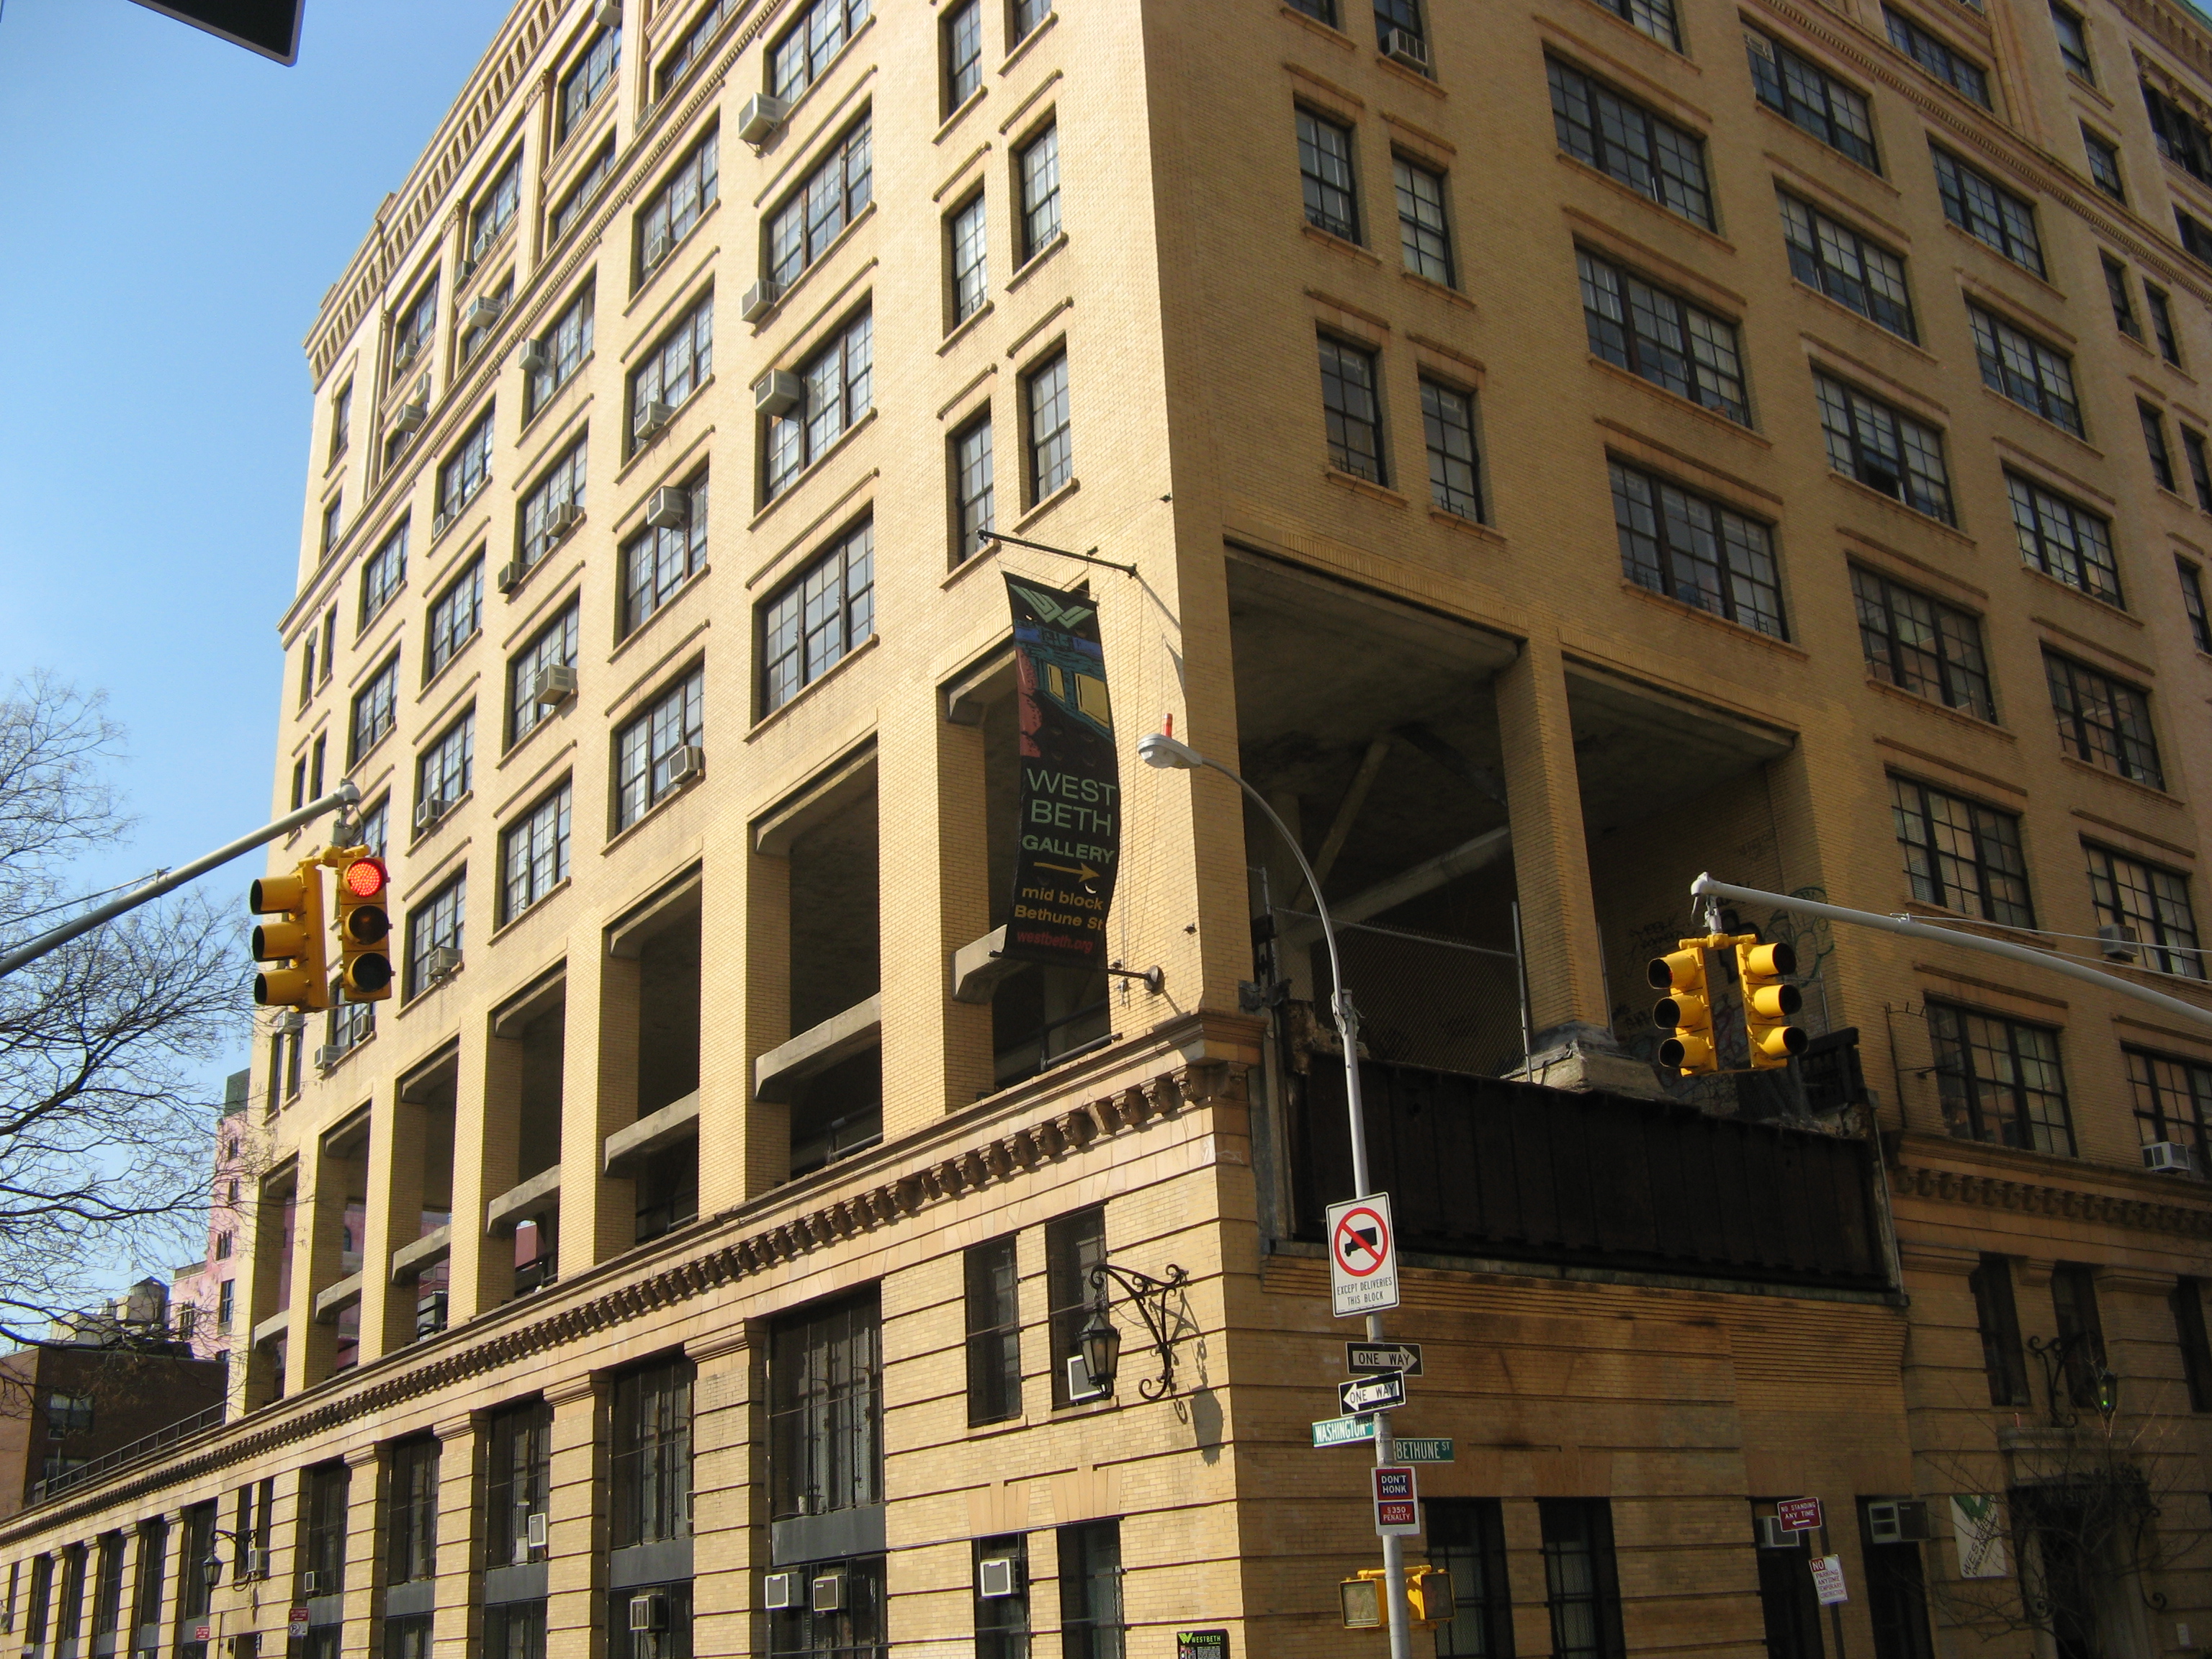 The real source of the name
though is the New York High Line. This was an elevated freight line
that ran down the Hudson River side of Manhattan until the
1980's. They even punched it straight through existing buildings. This is a
picture of the Bell Labs building on the Lower West Side which
had freight trains running through it. (Bell Labs originated many of
the technologies we take for granted now in computing and
telecommunications, though they moved out to New Jersey in the
1940's. No doubt it was quieter away from the freight line... Quite a
lot of work on the Manhattan project was done here too, and Alan
Turing probably visited during WWII.)
The real source of the name
though is the New York High Line. This was an elevated freight line
that ran down the Hudson River side of Manhattan until the
1980's. They even punched it straight through existing buildings. This is a
picture of the Bell Labs building on the Lower West Side which
had freight trains running through it. (Bell Labs originated many of
the technologies we take for granted now in computing and
telecommunications, though they moved out to New Jersey in the
1940's. No doubt it was quieter away from the freight line... Quite a
lot of work on the Manhattan project was done here too, and Alan
Turing probably visited during WWII.)
Much of the rest of the line is now an elevated public park; I like the juxtaposition of technology, trains and public gardens.
 Pages written by Adrian
Johnstone, last updated 17 June 2015. As elsewhere on this site, if you click on the images you'll get high resolution version. The pictures are all owned
by me; please don't copy them without my permission.
Pages written by Adrian
Johnstone, last updated 17 June 2015. As elsewhere on this site, if you click on the images you'll get high resolution version. The pictures are all owned
by me; please don't copy them without my permission.